


post filed in:
5 Practical Ways to Grow Your Family Photography Business This Month
The number one question I hear photographers ask most often is “how do I get more business?” If you’ve been shooting for a little while now and have been building up your portfolio with sessions (both unpaid for experience and paid), you’re probably starting to realize just how expensive it is to run a photography business and you may be feeling the pressure to attract more clients.
Not only does the cost of good equipment come as a shock for awhile, there are so many things you probably didn’t realize you had to account for at first (I sure didn’t) like website hosting fees + a template, contract templates written by lawyers, insurance (liability & equipment), registering your LLC, city business licenses, a photo session scheduling system, an email marketing system (I use Flodesk), an image gallery system (I use Pic-Time – use this link to get a free month), a customer relation management system (I use Honeybook), saving for taxes, etc. Not to mention all the smaller things like a work email address, extra storage, and value adds for clients (ex. planning guides, client gifts, etc.).
Rather than just give you a vague, cookie cutter, “just market more!” response like I hear so often, I wanted to share five practical, specific ideas that you can implement right away. These are things I did consistently to grow my business from a side-gig to my full-time, dream career and I hope you find success with one or multiple of them too!
1) Start an email list or work on growing it if you have one
For a long time I wondered if this would be beneficial for me at all since I wasn’t sure what information I would share with everyone or how often I could even handle sending out emails. But it has turned out to be incredibly helpful especially since I serve clients Colorado and Arkansas where my family and in-laws live in addition to Kansas City. I have each contact tagged by location on my list, so every time I plan a visit to a different state, I just let everyone in that area know when I’ll be in town and how many photo sessions I have availability for while I’m there. I can almost always pay for the trip just from sending out 1-2 emails! It’s also been incredibly helpful in filling mini session spots (read more about those below).

An email list is a great way to get on a more personal level with people, help them feel like they are connected, and give them an easy way to invest in your photography journey/story. I always try to share any big news or opportunities with my email list first before posting on social media, so they feel valued for sharing such previous inbox space since it’s truly prime real estate in today’s world!

How to:
While I use Flodesk and absolutely LOVE it for my email marketing system (feel free to use this link to get it for only $19 per month), if you need a free option to start out and just start collecting email addresses, Mailchimp has a free level that works well for that.
Start by creating a welcome series of emails, even if it’s just three emails, that thanks them for joining and then gives them some value over the next couple weeks (ex. welcome/a bit about who you are and your photography journey, outfit planning tips, links to recent work you’ve done, blog posts about things like how to take better photos of their kiddos when there isn’t a photographer around, etc.).
I suggest reaching out to all past clients and asking them if they would be okay with you adding their email to the list. Let them know how often they can expect to hear from you (ex. no more than once a month at first) and that they can feel free to unsubscribe at any time! Then add a line in your contract or model release that says they give their permission to be added to your email list, from which they can unsubscribe at any time. That way, every time you get a new client, you also get another qualified email address on your list!
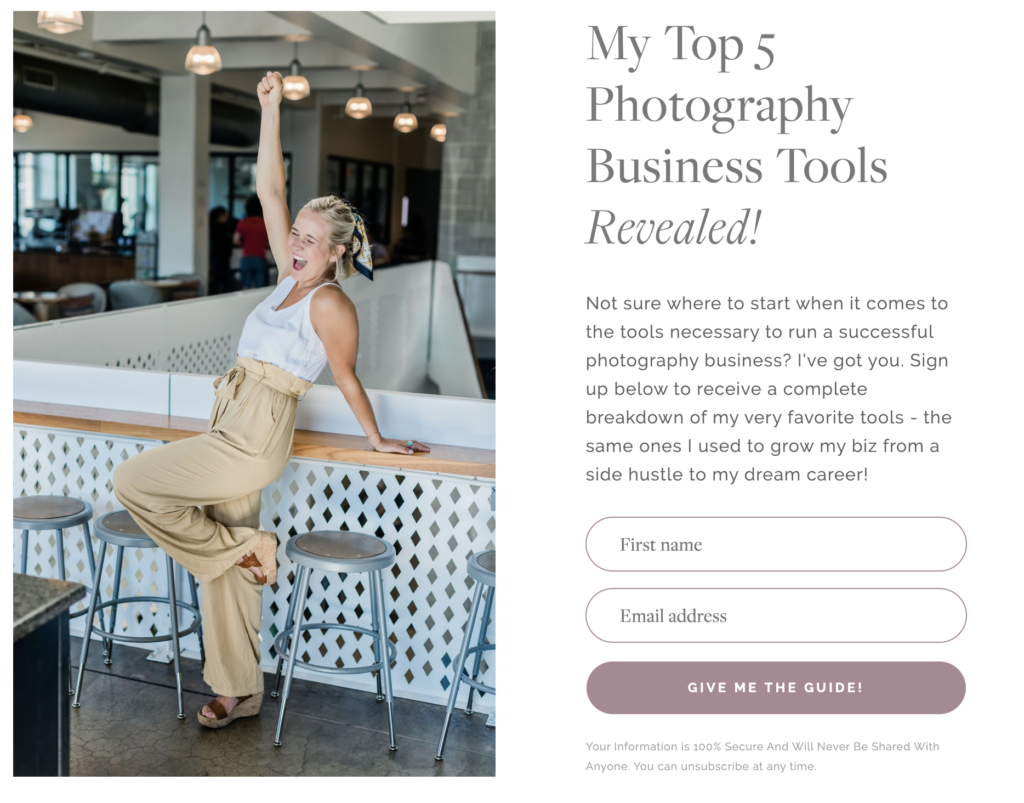
Next, add a form to sign up for your list on your website. Typically an opt-in for something specific (a freebie, challenge, etc.) that they’ll receive upon entering their email works best rather than just a form for your newsletter, but DONE IS BETTER THAN PERFECT, so if you don’t have a freebie idea right now, just get a general signup form up for now as you can always tweak and improve your processes later on. Example of a freebie opt in:
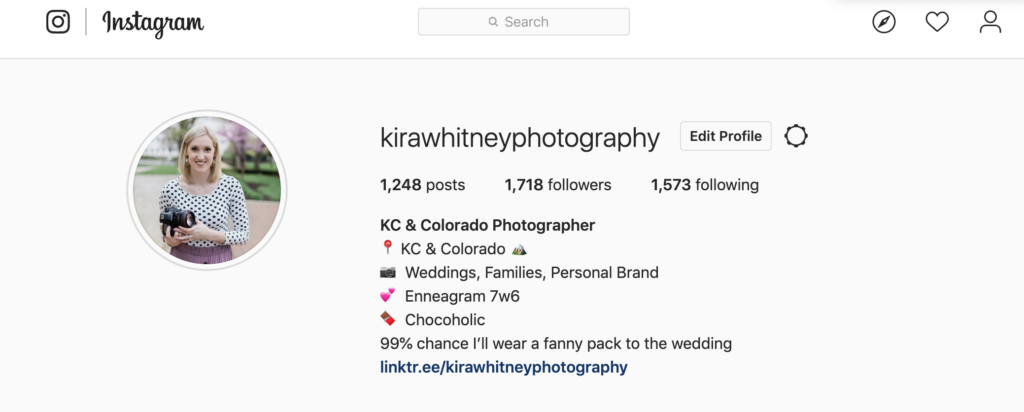
You could also add a link to your Instagram bio (I use linktr.ee to host multiple links in my bio for free) and post about your email list on both Instagram & Facebook to get a little boost in emails! Just remember how small a percentage of your followers actually see posts on social media, so don’t be afraid to post about things multiple times after a couple weeks have passed.
A few things to note when it comes to your email list:
- It is illegal to add anyone to your mass email list without their permission, so don’t do that 😊
- You are legally required to put your business address at the bottom of all mass emails as well as an unsubscribe button, so don’t skip out on those things
- Sometimes mass emails from Gmail accounts don’t go through well, so you may consider getting a “work” email address that matches your website (ex. Mine is hello@kira-whitney.com). It costs about $6 per month and you can sign up for one here.
2) Be present and active on social media + use specific location-based hashtags on Instagram
I get lots of business from both Facebook & Instagram. The inquiries I get from Facebook are usually because someone saw one of their friends tagged in my photos or their friend shared the photo to their feed or tagged me when they shared some images that I took. The inquiries I get from Instagram are usually because of the location-based hashtags that I use (ex. #kansascityphotographer #looseparkfamilyphotos #kcfamilyphotographer, etc.).
Recently I’ve started using ads to book more business after taking an in-depth course about them earlier this year (hire Pete&Jordan if you want to learn what I did, they’re amazing), but even before that lots of people found me because I did a session for a family member, friend, or coworker and they saw some of the images on social media. This is one of the easiest ways to get our work in front of people. I think a lot of people get stuck here because it feels vulnerable to share so much online and feel like everything needs to look perfect before we share. I truly believe that being present online is more important than things looking 100% perfect all the time. There is definitely something to consistently sharing and interacting with people’s posts because then when they are in need of a photographer or they have a friend in need of one, you are top of mind since they’ve been seeing your work all over the place for the last few months!
If you’re struggling to have enough sessions to post about, work on stretching out the content that you do have. For example, instead of just posting all the photos from a session at once, share some behind the scenes right before or during the session (perfect for Instagram stories – maybe a boomerang of the family goofing off, a selfie of you with them, a video or image of you as you’re doing the shoot if you can have someone come with you to take those), sneak peeks for a week or so after the session (vary between Instagram posts, stories, and Facebook posts), then share a link to the full blog post once it’s complete and share on your Instagram story that you just hit send on their gallery! Then a few days later, share an album of images on Facebook saying something like “in case you missed it on the blog!” I’ve also loved sharing all my favorite photos from a session in my Instagram stories and I’ve found the Unfold App to be the easiest way to do this since you create your whole story in the app and then just download it to your phone’s image library before uploading to Instagram.
Tagging your clients in as many sneak peeks and posts as possible makes social sharing that much easier for them which they love the simplicity of, and when they do, they are literally doing your marketing for you!!
3) Blog every session and title your posts with the location first (SEO & social sharing – yay!)
Unless it’s a session you aren’t proud of or it’s not the kind of session you want to get more of, blogging can have a very powerful effect on getting your work in front of a lot more eyes quickly.
Now, if you don’t have a website and blog yet, that’s where I want you to start of course, because it’s hard to be taken seriously as a professional without a website and blogging is an incredible resource to help you get found online – not to mention a great value add for your clients when they can share so many favorites from their session with their friends online with just a couple clicks!
Be sure to double check the URL structure of your blog. Chances are high that the default is set to this format: yourdomain.com/date/blogposttitle. You will want to change these settings to remove the date, or at least move it to AFTER the blog post title because Google prioritizes the information immediately following your domain so you will have a much higher chance of showing up when people are searching for a photographer online if the title is first. I removed the date on mine completely because it felt unnecessary and it made the links to my blog posts super long.
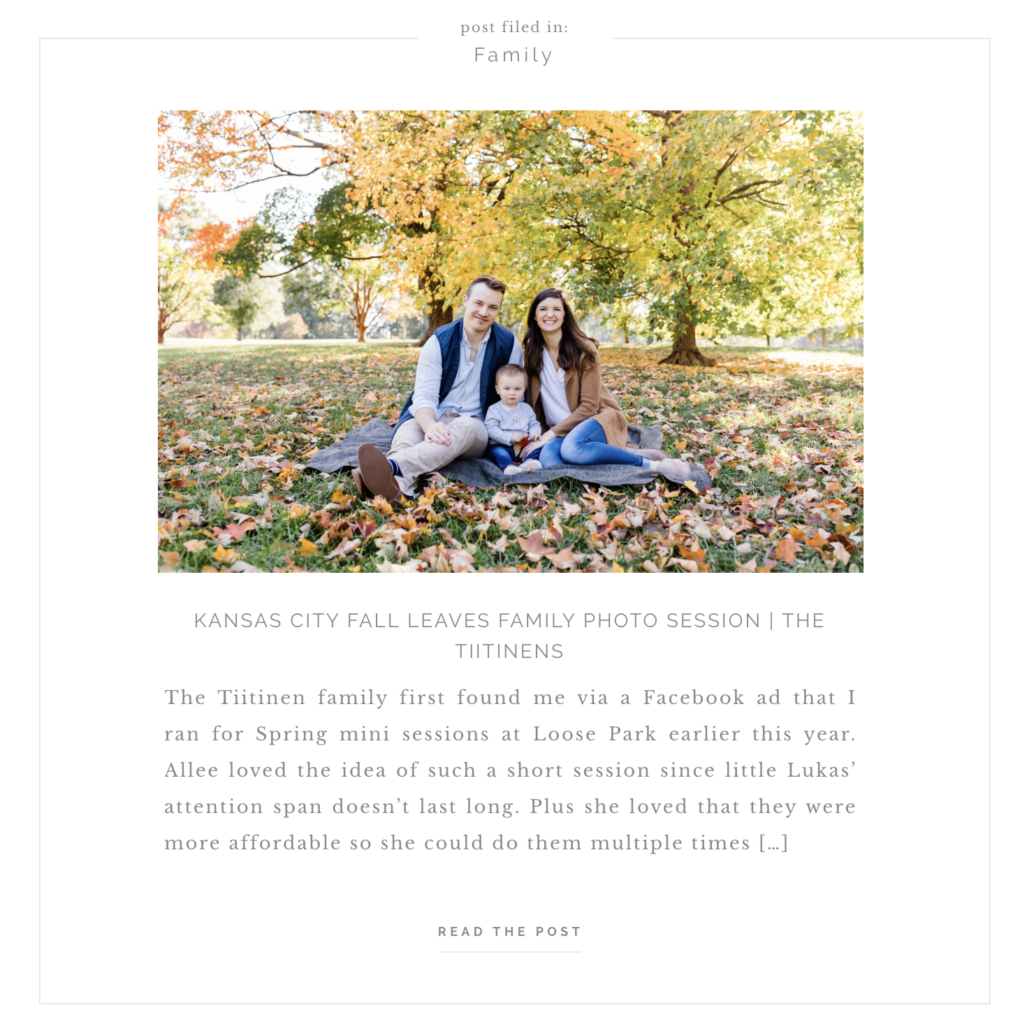
Since most people will search for a specific area or location when looking for a photographer “ex. Colorado Springs Family Photographers,” I’ve found that it’s helpful to title my blog posts with the location first instead of the client names. I’ve even found that it can be more micro than a city or state since people will often be searching for a specific park/spot to do their photo session at the same time they are looking for a photographer. For example, I have a LOT of blog posts that start with “Loose Park” like “Loose Park, Kansas City Winter Family Photo Session | The Wilson Family,” and because of those, I consistently get inquiries from people who were looking into that park for their family photos and came across some of my photos online! There is a lot more you can do with the actual copy in your blog posts and the alt text/titles of the images you upload, etc., but for today’s action step just work on your title format!
4) Ask for reviews and then share them with your audience
I know that at first it feels odd to ask someone to share about how wonderful you are to work with, but think about it… when you’re shopping for ANYTHING online, how often do you double check the reviews to make sure you’re making a good decision? If you’re anything like me, the answer is at least 90% of the time. We can say whatever we want to about our own products or services, but when someone who doesn’t know us comes across our work, we want them to feel 100% confident that we are trustworthy and legit and testimonials are a great way to help with this!!
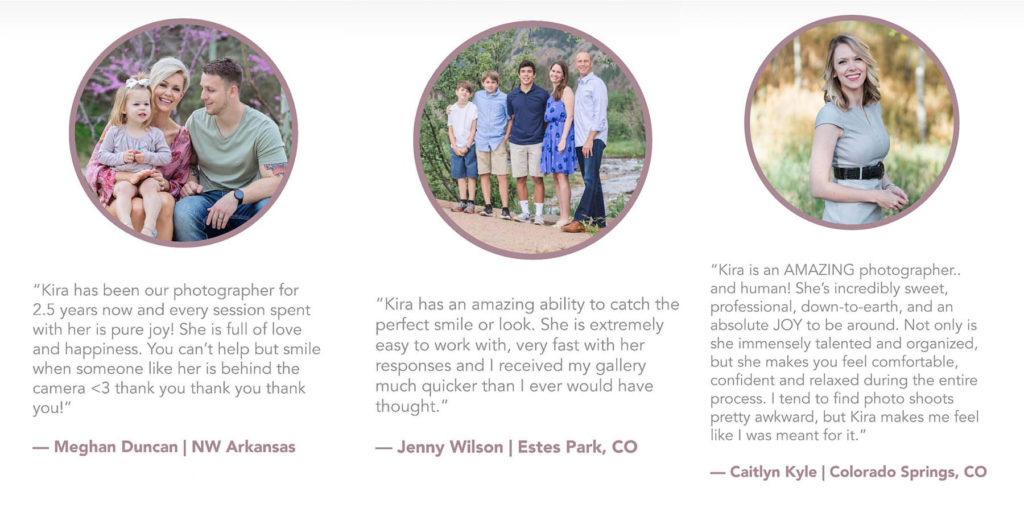
A great place for families to do this is either on a Google listing (claim yours here – seriously, do it you guys – it’s free!) or on your Facebook page. Then you can copy/paste from there anywhere on your website/emails to potential clients/etc. whenever you’re in need of a little extra convincing for those who don’t know you or haven’t worked with you before.
As long as I’m not hesitant about someone’s experience with me for some reason, I typically send them an email about a week after I’ve sent their full gallery of images to ask if they’d be willing to share a review of their experience with me. If they respond sooner than a week squealing about how much they love the photos and how much fun they had, then I definitely go ahead and send my request as a response to that – thanking them in advance for helping me get more fabulous clients like themselves!
Not sure how to approach asking clients for a review? Grab my free review request email template HERE! (See what I did there? Of course, you can unsubscribe at any time 😉)
Once I get a review, I love to screenshot it and share it on my Instagram story – with a photo from the client’s session when possible! If I tag them in it, the chance that they share that to their story for all of their followers to see too is always really high!
5) Plan a mini session event
For me, mini sessions are typically 15-20 minute sessions on a specific date at a location chosen by me. They are a little less expensive for clients because they are so short and they don’t have a choice on the location, but much more convenient for me because I choose a place near my house and just hang out there all day while new clients arrive every 30 minutes or so throughout the day. This is an opportunity to really maximize time on one day and make significantly more than you would from just booking one or two regular family sessions. A brief word of warning though: they are also a lot of work and can become extremely complicated if the weather decides it wants to be bad that day (I speak from experience).
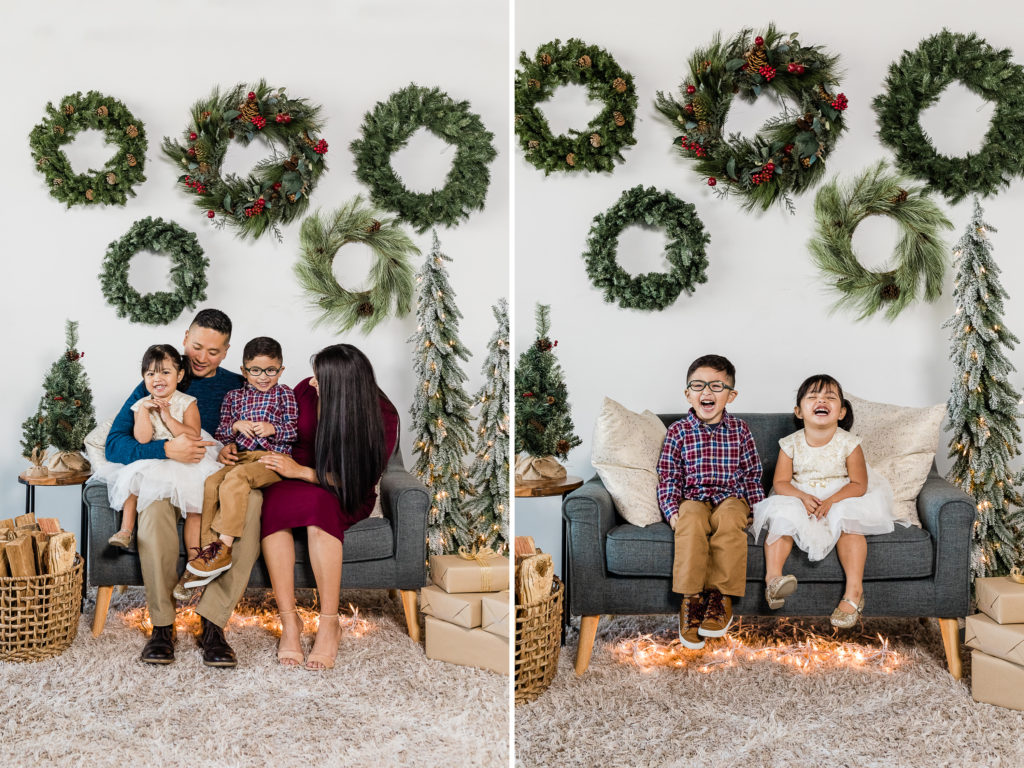
The reason I list this as a way to grow your family photography business is because you can gain lots of images in a short period of time to be able to share on your social channels, and more importantly, have a much faster ripple effect in getting you more inquiries from people who see each mini session family’s images! For example, one of my Spring mini session clients this year was a new-to-me family and soon after their session, I had one of the parent’s coworkers reach out to me about scheduling a full family session because they had seen their images. Then the mini session family also then scheduled another mini session with me in the Fall because they liked the first one so much and they had a one-year-old who had grown significantly in that short amount of time. Yay for repeat clients!!
I do want to preface my tips for this section by saying that early on in my photography career I tried offering mini sessions a couple of times, but really struggled to get more than a couple people to sign up. I had some major success with them for the first time in 2019 mainly because I ran Facebook ads in the couple months ahead of time, but if you’re just starting out I wouldn’t suggest this yet so that you don’t just waste money. It’s mostly because of the skills I learned through a program with some digital marketers (go follow @peteandjordan, they are amazing) that I was able to complete almost 40 mini sessions across 3 different events this year (Spring, Fall, and Christmas minis). By far, my Christmas ones were the least stressful since they were indoors and I didn’t have to worry about rescheduling for bad weather.
All that to say, here are some practical tips for setting up your first mini session event:
- Start early!! Don’t decide to do mini sessions two weeks from today. Choose a date at least a month and a half out so you have plenty of time to get your spots filled!
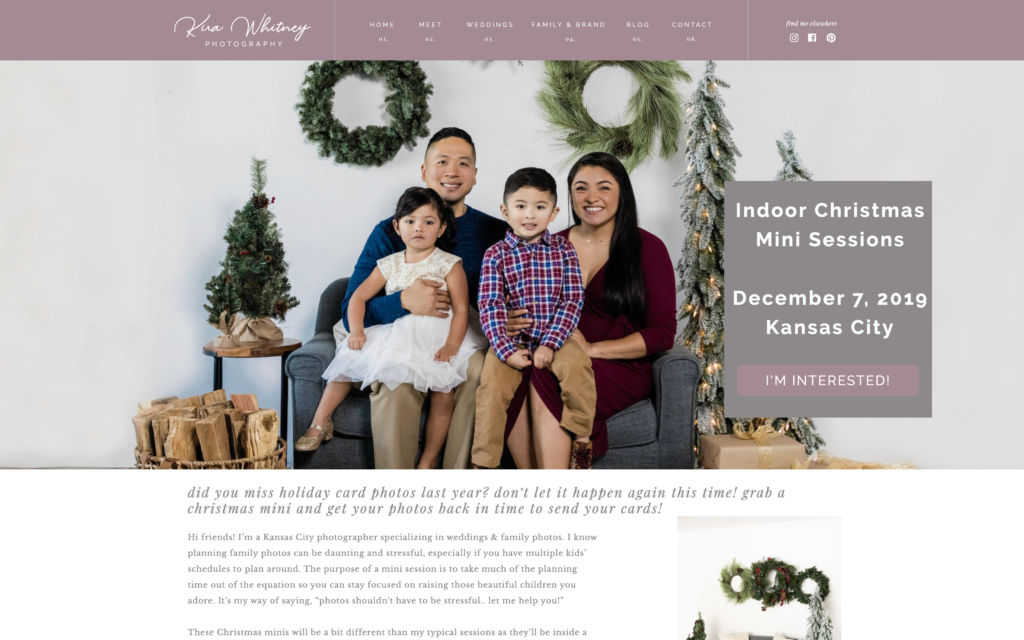
- What I’ve found to work well is to create an unlinked page on my website solely dedicated to those mini sessions (example: a Spring Mini Sessions page). Share a little about who you are, what it’s like working with you, and why a mini session might be perfect for the viewer. Be sure to include a bunch of your favorite family photos in case the viewer isn’t familiar with your work from social media or knowing you personally. Then give all of the information as far as date, location, length of session, how many photos they will receive, how long it will take to get their photos back and how they will receive them (ex. in an online gallery for download with high quality print options within one week). Then include a link to “Schedule Your Slot” and have it take them to your scheduling page 👇👇👇
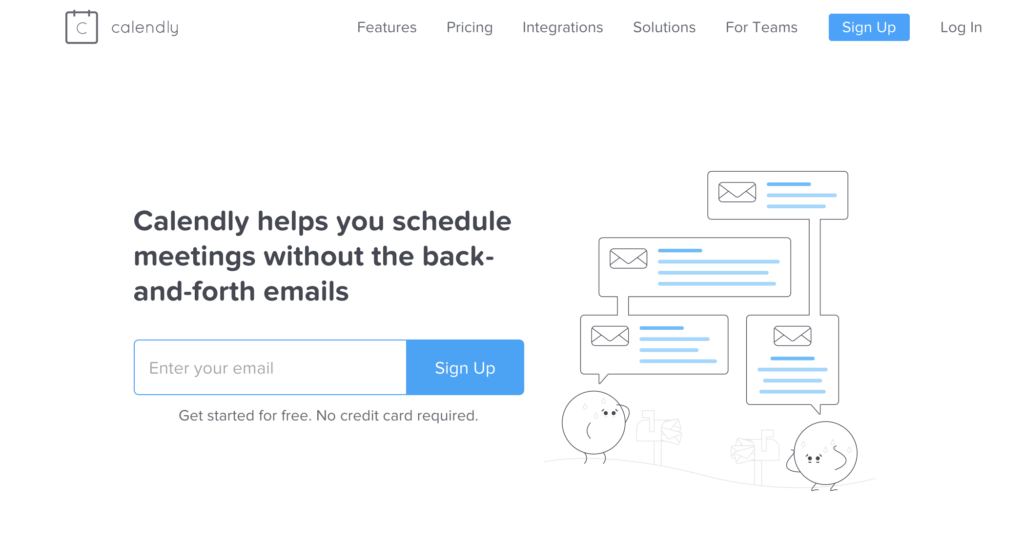
- Use a scheduling tool such as Calendly to schedule your sessions since that is easily one of the most cumbersome things to attempt to do manually (it avoids so much back and forth emailing about available time slots and makes you look that much more professional). You can do one free event type with Calendly, but I would suggest paying for the upgraded version just for a few months (you can turn it off after your mini sessions) so that you can take deposits as people sign up for their slot, customize the confirmation emails, set reminders, AND redirect them to a thank-you page on your website with a reminder of what to expect next + a value add (perhaps a blog post on how to plan your photo session outfits). Answering as many questions up front as possible before people have a chance to ask them will save you so much time and make them so excited for their shoot with you since you’re so prepared!
- As soon as your web page and scheduling page is all set up, share about your mini sessions via your email list first with a message like “you have first access” since they’re your VIPs. Give it a few days to a week and send another email to them letting them know you’re about to open up the slots to the public so it’s the last chance to have first dibs on what time slot they’d like. Then over the next month or two, share consistently on Facebook and Instagram and even email potential clients personally who have inquired but not booked with you to let them know of this new option. For my Christmas mini sessions, I share a lot of behind the scenes on my Instagram story as I shopped for the decorations and began to see my set come together and I got great responses/signups as people began to envision what it would look like. Be sure to follow up with anyone who inquires about them 2-3 times before archiving their project (Honeybook really helps me stay on top of follow ups because I set a task for myself on the exact date that I want to remember to reach back out if I haven’t heard back).
Wow, I know that’s a lot of information all at once, but I hope one of these ideas helps you grow the family side of your photography business in the coming months!
Have questions about something I wrote or other ideas to add that have helped you gain more clients?? Don’t hesitate to share in the comments below – I’d truly love to hear from you!
Oh – and if you’re a creative business owner, be sure to join the Kira Whitney Education Facebook group where we are learning and growing together! See you there ✌️✌️


the list
Be the ultimate insider. Get updates on my latest shoots, tips for planning your dream photo session & where I'm headed next. My email subscribers always hear about big updates before anyone else!
JOIN THE FUN

education Community
Are you a creative entrepreneur? Come join my small but mighty education community, where we are learning and growing together! I'm an open book and love to share about all the photography & business stuff behind-the-scenes stuff here!
Let's Grow Together!