


post filed in:
How to create your own photography styling mat in 15 minutes
Until you really get into wedding photography and start shooting a lot of them, you honestly don’t realize just how much goes into it. One of those things that took me years to even learn about their existence was styling mats!
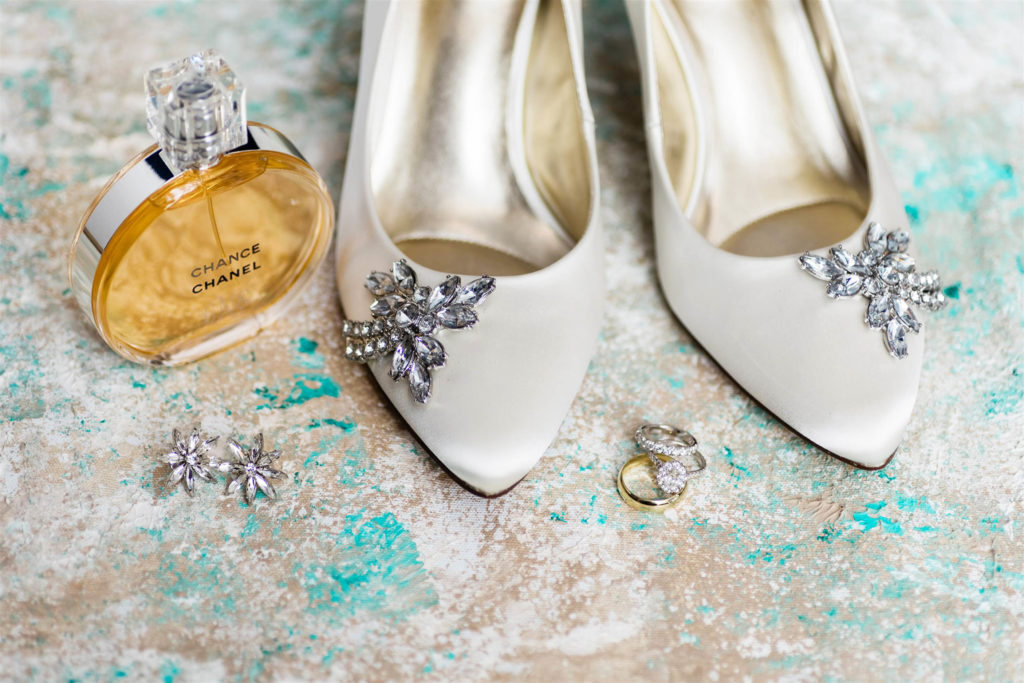
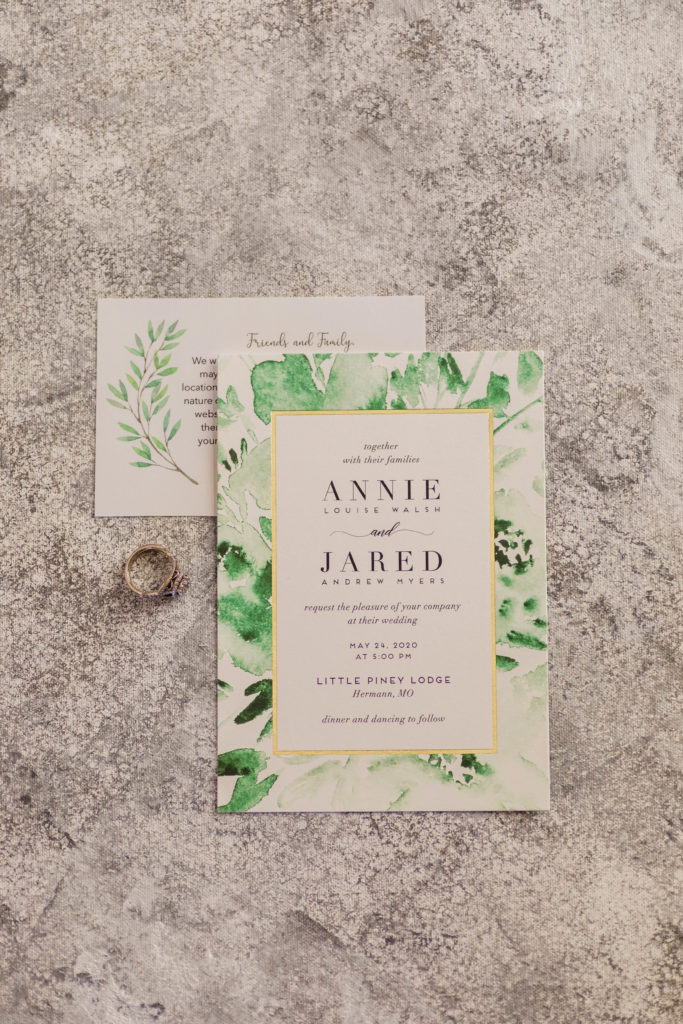
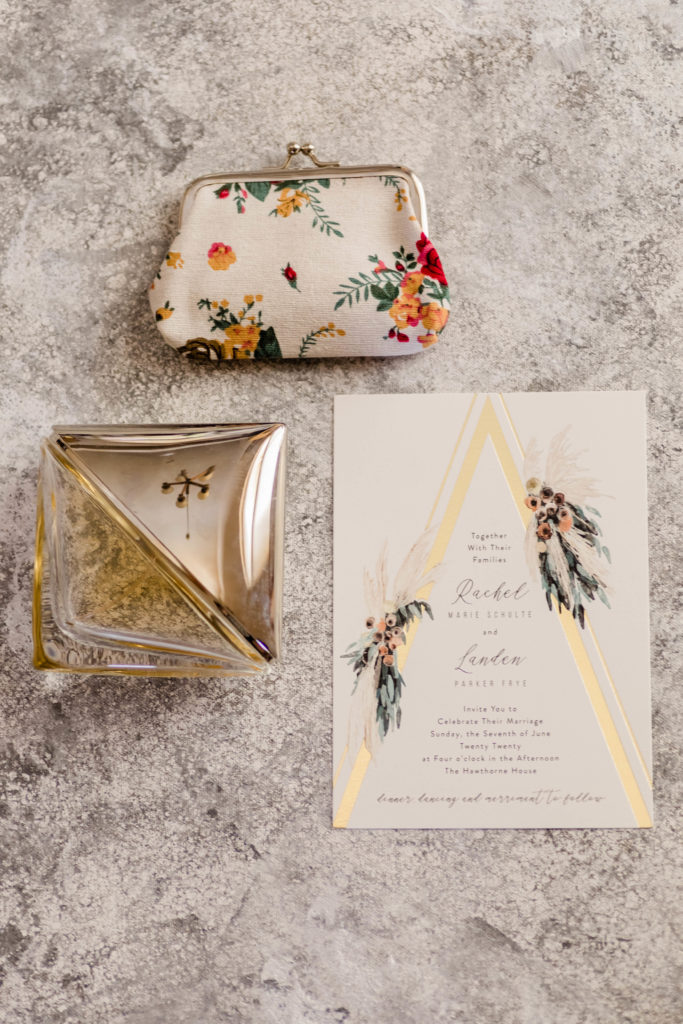
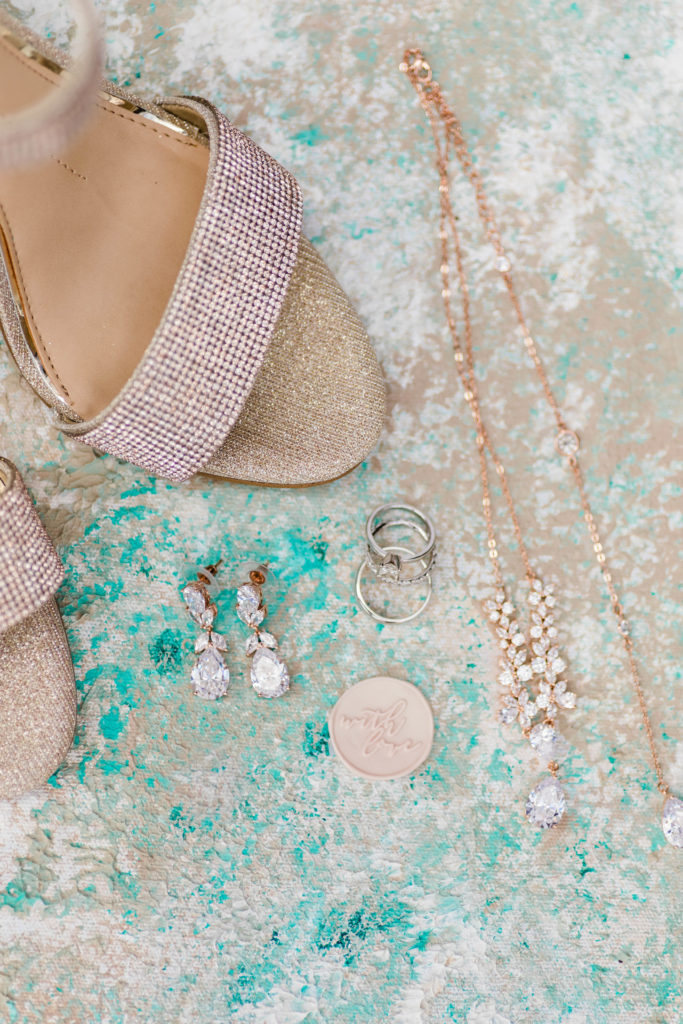
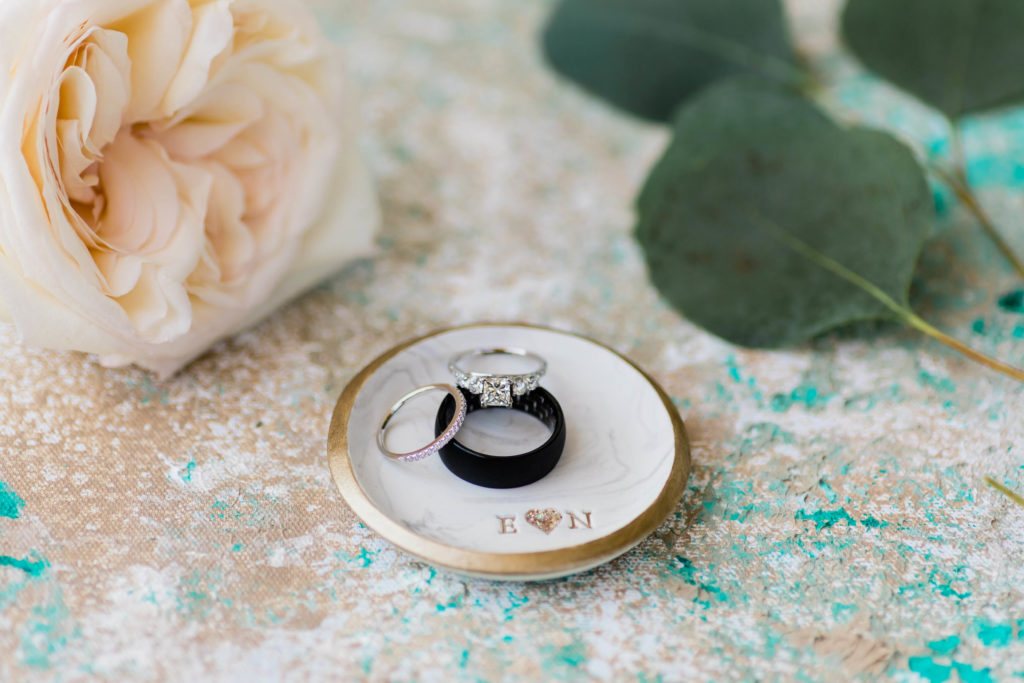
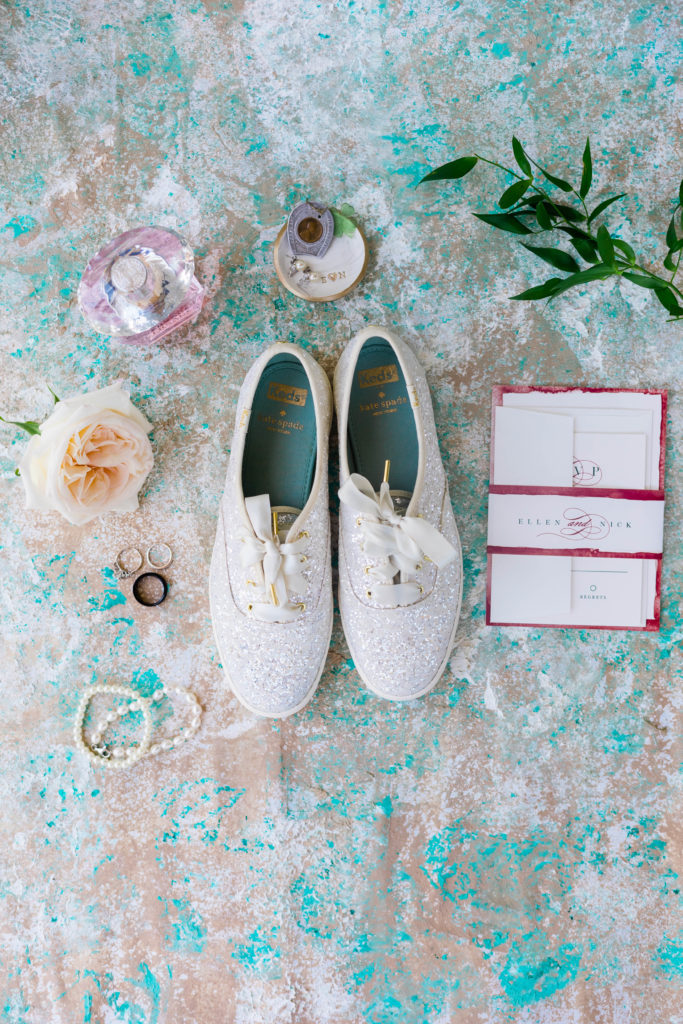
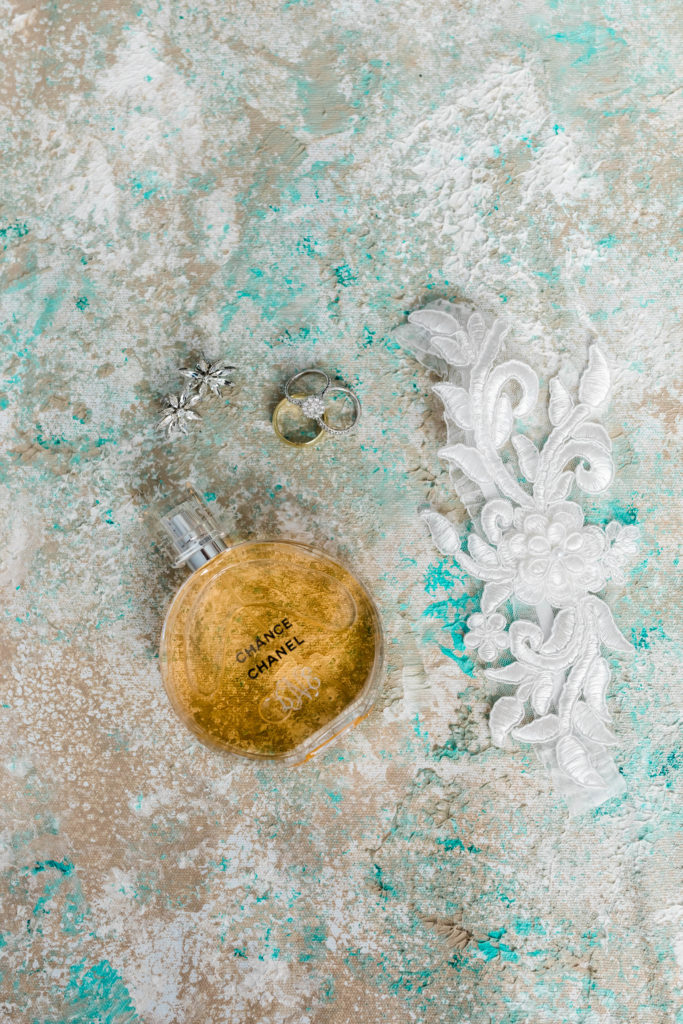
Styling mats can be used to really increase the elegance of detail images and flat lays at weddings (or any other details you may want to photograph outside of weddings!). I’ve wanted to buy some for a long time, but they are so expensive… like hundreds of dollars expensive!
So I figured out how to make my own! The key to making a roll of canvas stiff enough is called Gesso. I would have never known what the heck that was, but thankfully, my dad is an artist so he gave me some tips.


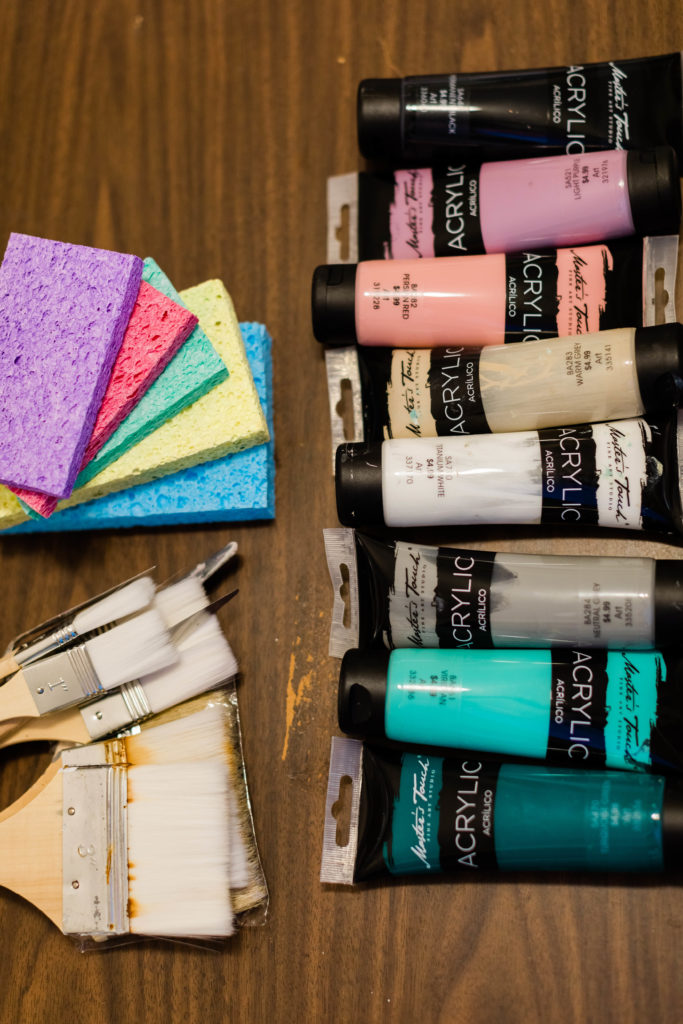
1) Buy your styling mat supplies!
You can buy Gesso separately and paint it onto any roll of canvas you pick up, but my suggestion would be to buy pre-Gessod canvas – it’s SO worth saving the hassle/extra step and really isn’t that much more expensive. So here’s the list of supplies with links to exactly what I buy.
- ($46) Double primed cotton canvas roll (36″ wide, 10 ft long) – this will be enough to make 3 styling mats
- ($19) Sponges – the bigger the holes, the better! These are honestly way cheaper if you just grab some from Walmart or the grocery store
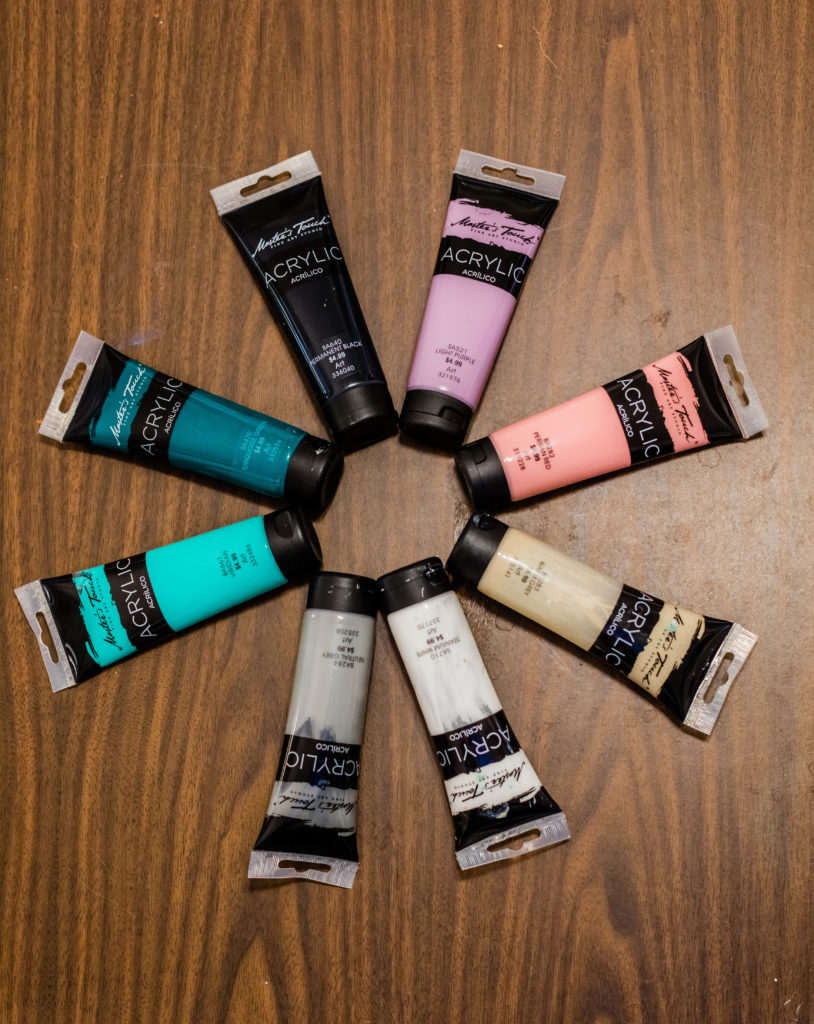
- ($5 per tube) Acrylic Paints – look for these when they are half off at Hobby Lobby to get them for $2.5! This paint WILL stain your clothes, so be sure to wear an outfit you don’t care too much about.
- ($26 for 5) 1″ dowel rods (36″ long)
- Hot glue gun + hot glue sticks
- ($17) Carrying case – this case expands to 40″ which is the perfect fit and makes these styling mats extremely portable, which is crucial for weddings.
- If you want to try paint brushes instead of sponges, feel free! I just didn’t love my first result with them and liked the texture and variety I got from the sponges instead.
Total for each styling mat = $40 (roughly)

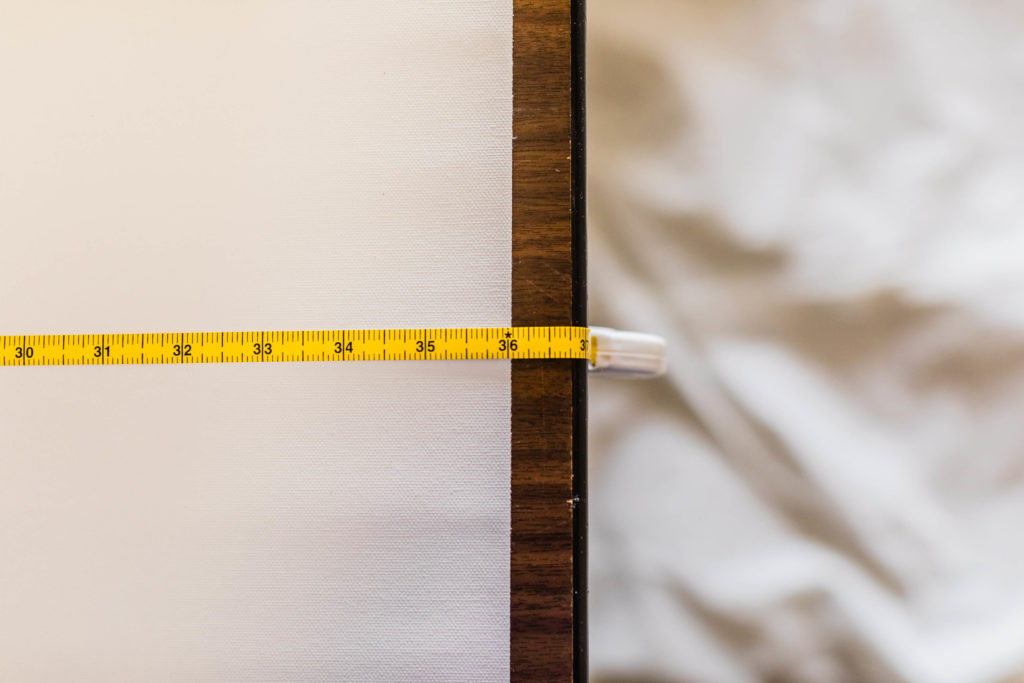
2) Cut the canvas & paint your first layer
I start with them as squares, but at the end they will be a little shorter than they are wide because of the dowel we’ll add onto the top. So since they are 36″ wide, cut them into 36″ pieces length wise as well.
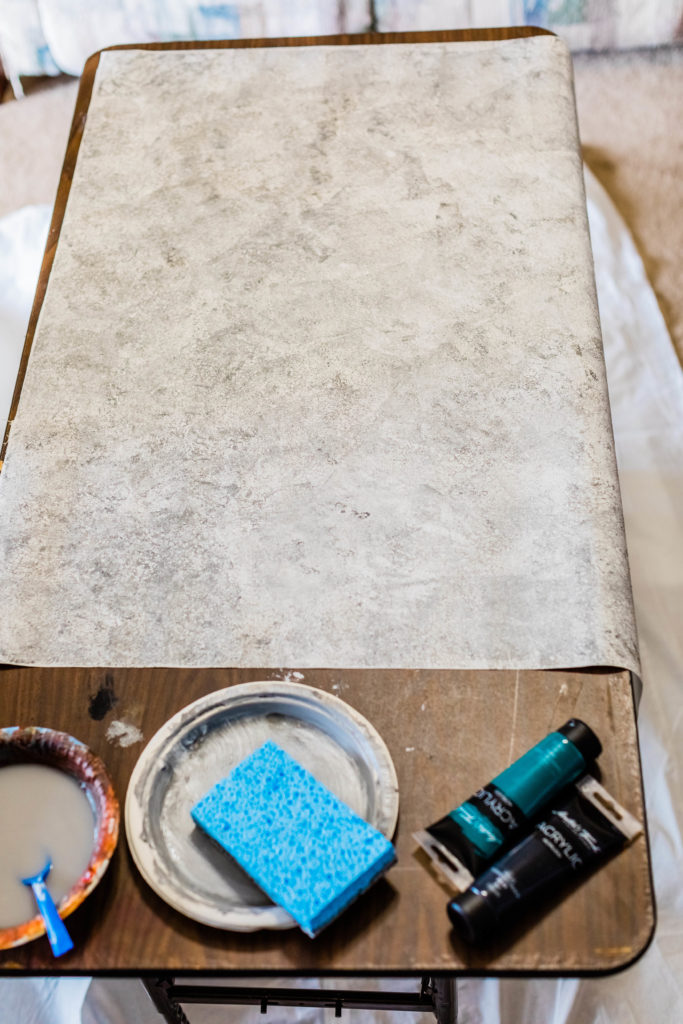
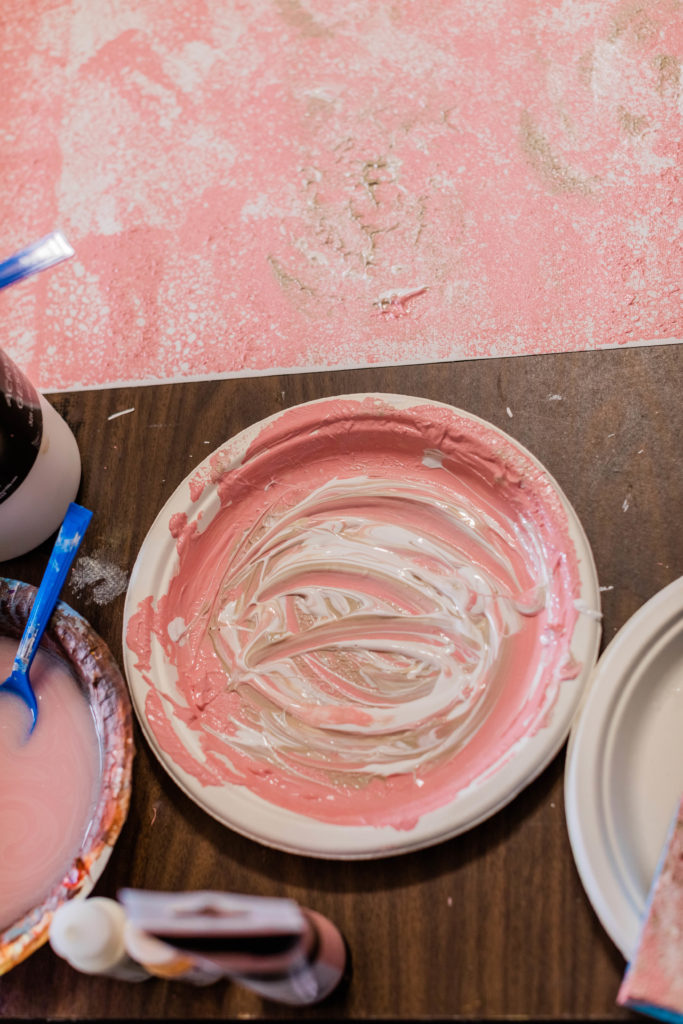
Squeeze your main paint color onto a paper plate, add a small spoonful of water and stir it around well. Make sure it’s not too watery so your canvas doesn’t warp/wrinkle. Use your sponge to dab a first layer across the canvas, adding more paint as needed. Don’t drag the sponge at all, just press – lift – repeat in all different angles and directions.

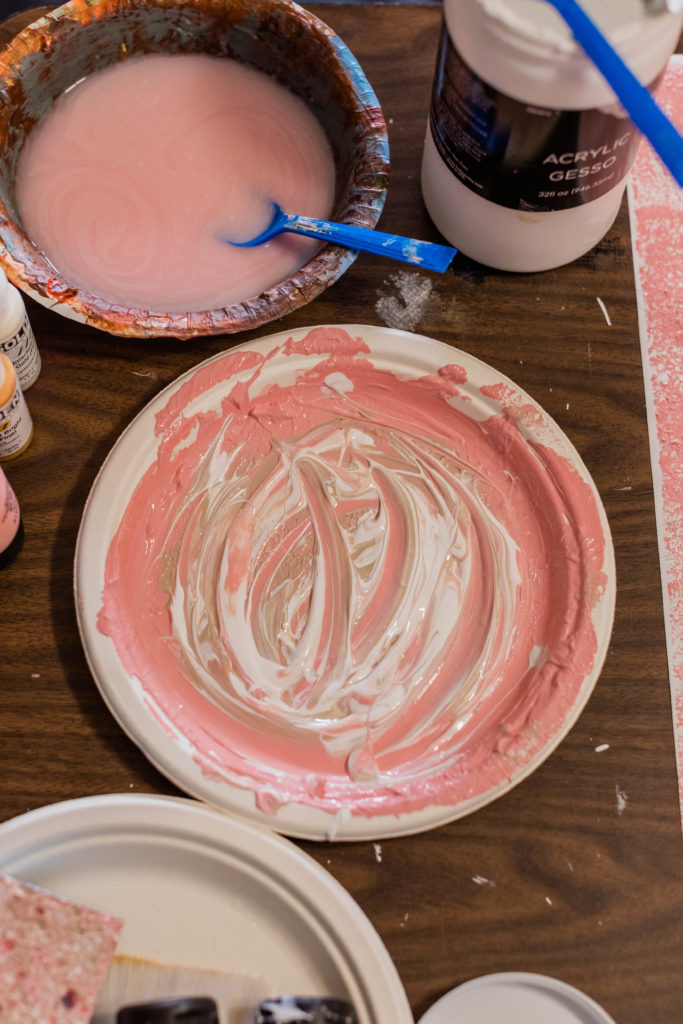
3) Add your secondary paint color(s)
You can just add your secondary color right on top of the same paper plate. I usually squeeze it into circles around the plate and do the same with some white and then swirl it all around with a spoon or paint stick so it keeps the canvas bright and differentiates between all the spots with the colors, giving it a nice texture. If you bought a jar of Gesso, you can use that instead of white paint if you run out.
Go ahead and dip your sponge in the paint and start dabbing again all over the canvas randomly. Try to cover any hard edges of paint on your canvas from the edge of your sponge. If you aren’t able to get rid of them with the sponge you’ve been using, you can use a round sponge with smaller holes just to blend those edges.
I always feel like I shouldn’t be able to be done already after this since the whole painting process only takes 10-15 minutes, but I tend to like a pretty simple backdrop so the attention stays on whatever details I’m photographing.
I don’t usually use over 2 colors + white and I try to keep the main and secondary colors in the same palette. For example, mint green and forest green accent or light pink with tan accent. Tan or gray are a great complement for a brighter color and you can use them as either the main or secondary color depending on how subtle or colorful of a result you want.
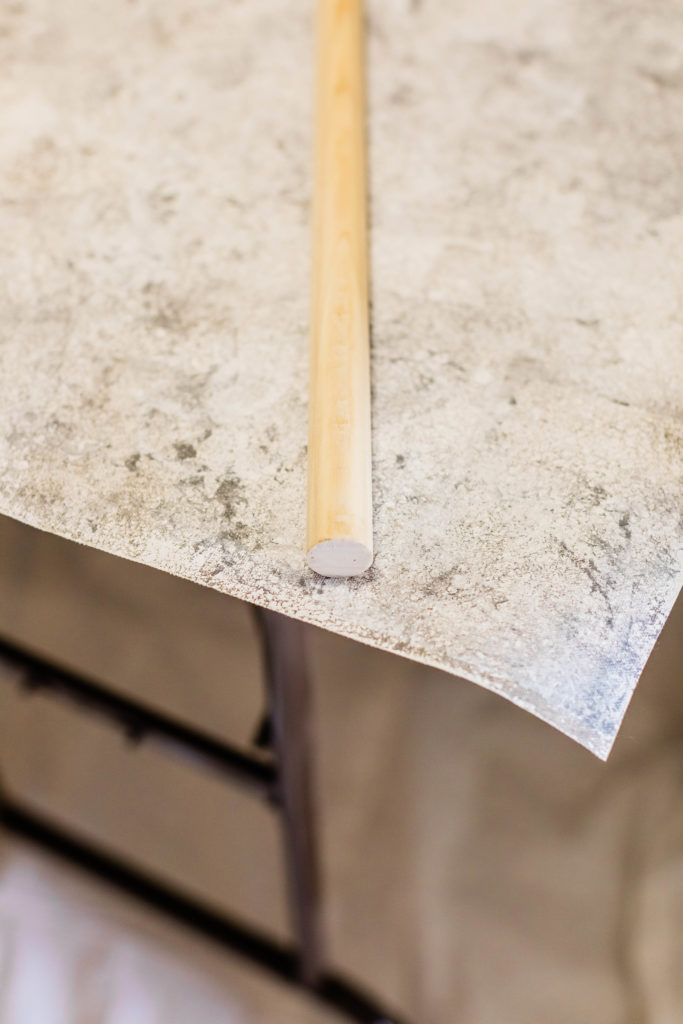
4) Glue dowel to edge of canvas
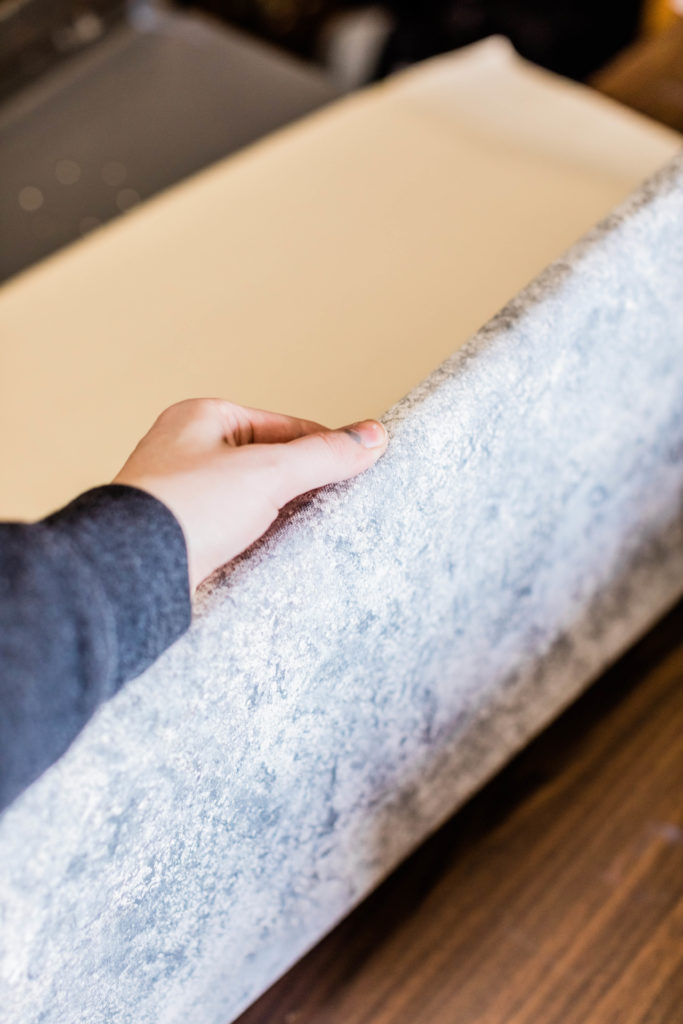
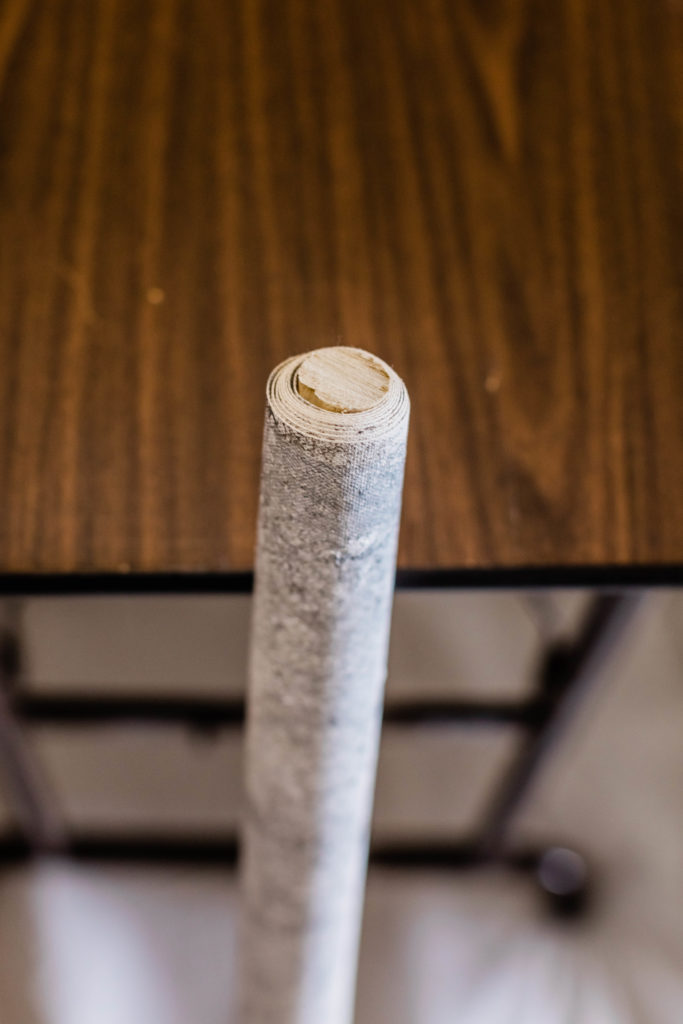
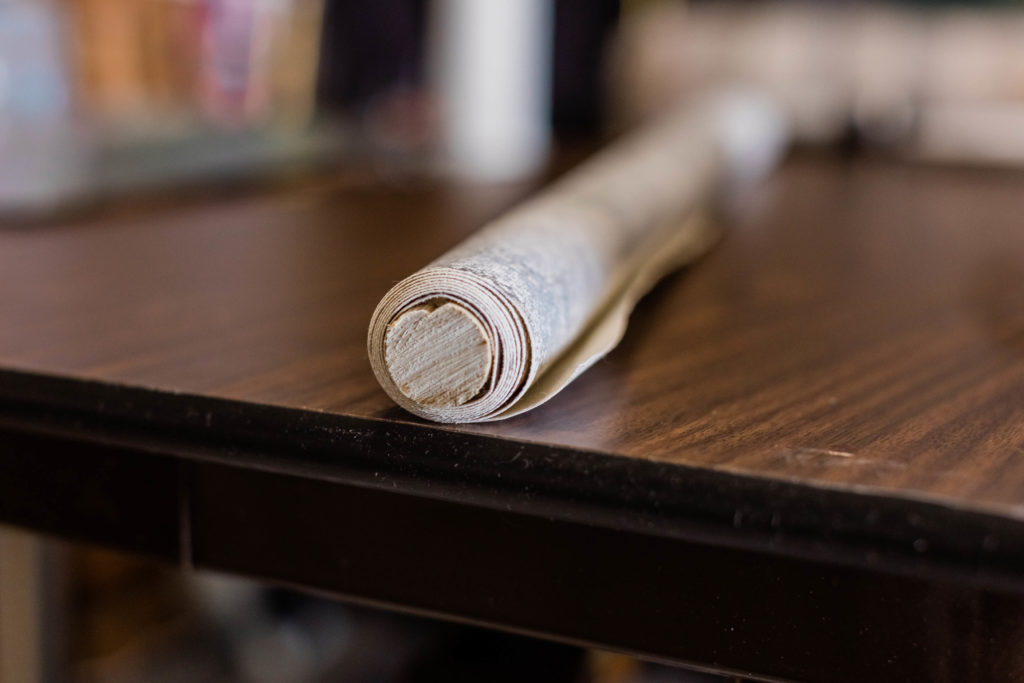
Once the paint is completely dry (which typically only takes a few hours if you don’t pile it on too thick), lay your canvas upside-down and use your hot glue gun to glue the dowel to the edge that you cut. One line of glue across at a time, I place my dowel and then continue to roll it onto the glue lines until the dowel is completely hidden behind canvas all the way around. This way it’s less likely to come off later on (plus it looks more elegant!).
Guys… that’s it! Roll it up, put it in your carrying case and you’re ready to up-level your detail shots wherever, whenever you want. Told you it was easy!
The next time you struggle to find a naturally stunning area for detail shots, maybe in a dark church or getting ready room, you’ll still be able to pull off incredible, elegant images that will surprise & delight your clients!
PRO TIP: Find out the color of the bridesmaid dresses and decor before you get to the wedding so you choose to bring a styling mat with a color that will coordinate well. I like to have a tan and a gray one on hand just in case one of my brighter colors doesn’t work well.
Questions? Leave a comment below or join my free educational Facebook group – I’d love to see you over there!

the list
Be the ultimate insider. Get updates on my latest shoots, tips for planning your dream photo session & where I'm headed next. My email subscribers always hear about big updates before anyone else!
JOIN THE FUN

education Community
Are you a creative entrepreneur? Come join my small but mighty education community, where we are learning and growing together! I'm an open book and love to share about all the photography & business stuff behind-the-scenes stuff here!
Let's Grow Together!