


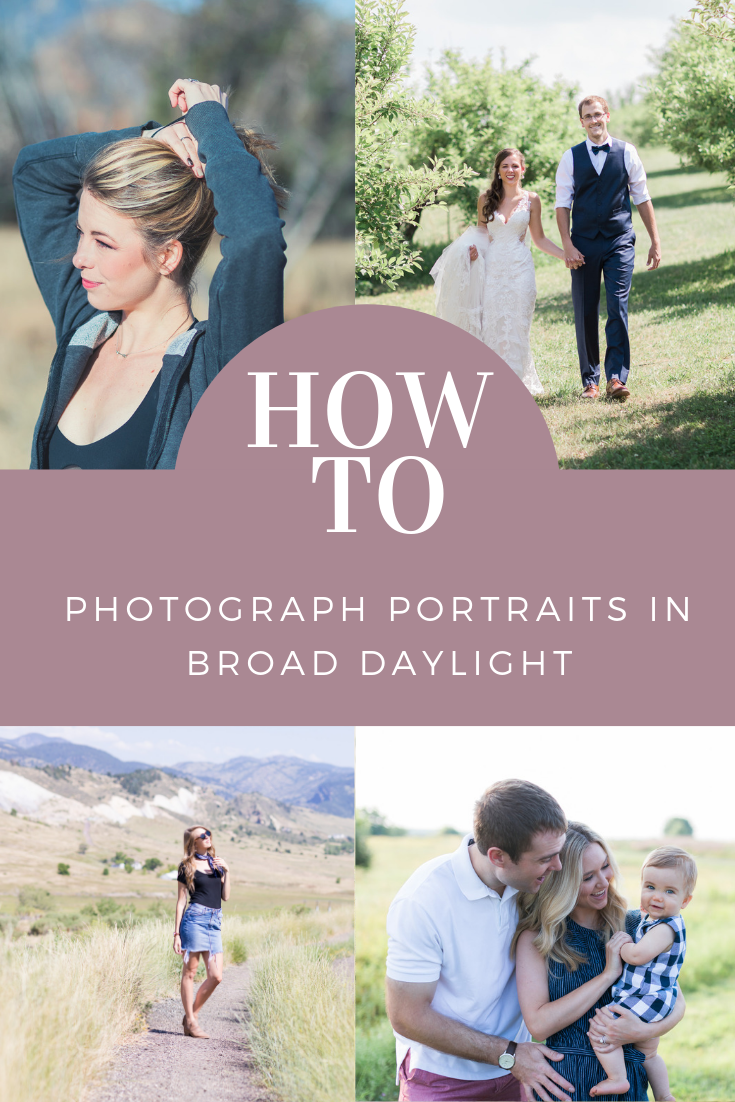
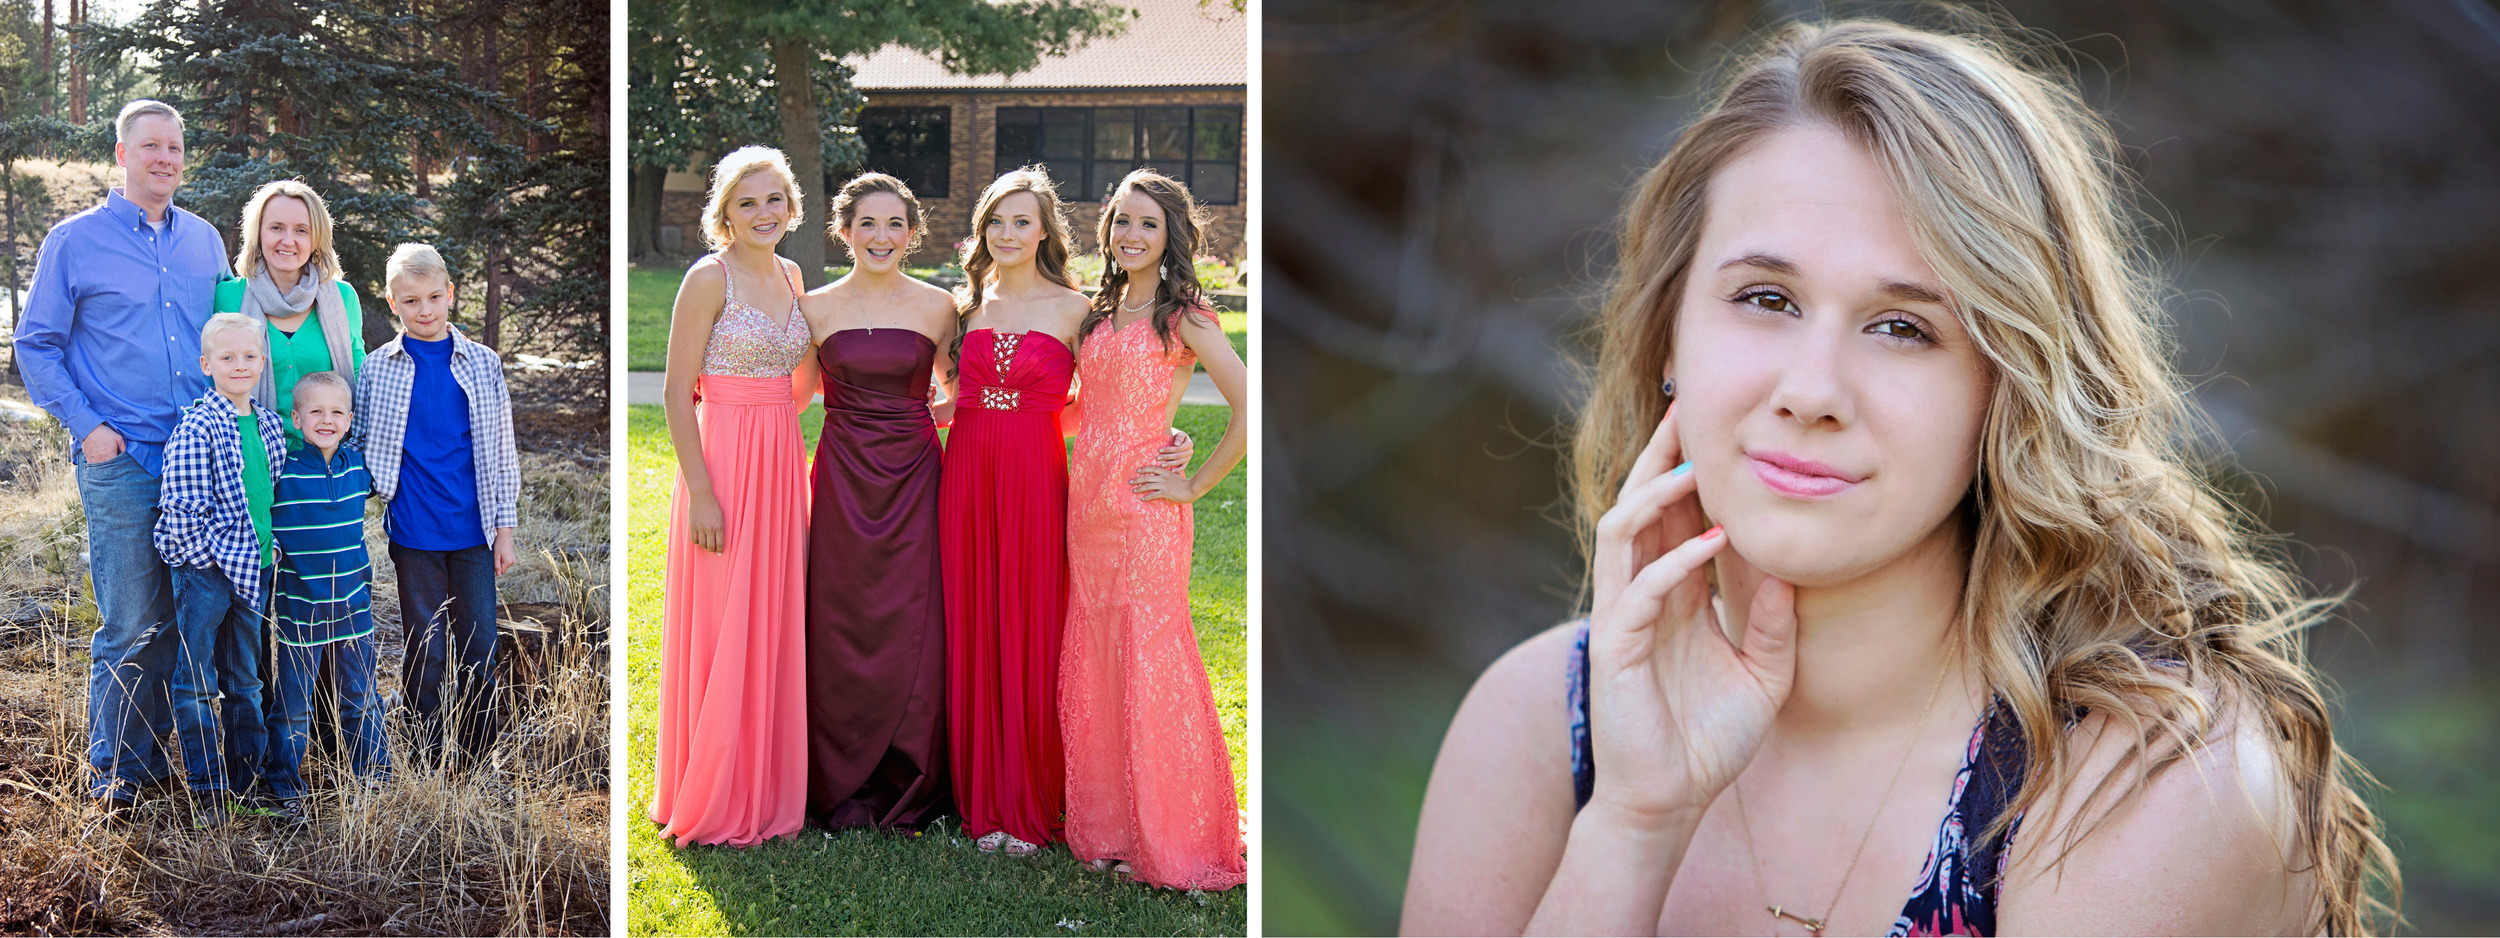
It’s pretty common knowledge that the best lighting for photography is typically the hour after sunrise and the hour before sunset. The light is much softer and less harsh than overhead sunlight in the middle of the day, perfect for skin tones and rich colors. But it would be crazy to think you could always plan your sessions within those time frames; sometimes schedules just don’t allow for it!
At first I was terrified to shoot in broad daylight. It’s certainly not my favorite still, but a lot of practice has made me more comfortable and and opened up many opportunities that I wouldn’t have had otherwise. My way is certainly not the ‘right’ way, in fact I’m not sure there is one right way, but here is just what has worked for me so far!
Camera Settings
Since you’ll probably have to underexpose a little because of the sun in order to maintain good detail, make sure you’re shooting in RAW so you can easily bring some light back into the dark areas during post processing. Many people also switch from evaluative to spot metering in order to have more control in exposing correctly for the main subject.
I stay around ISO 100, the lowest I can go since there is no need for more sensitivity to light with it being so bright. If I am in the shade I may boost this just a touch, but not much usually.
While I like to shoot close to wide open (highest aperture) during golden hour, in bright daylight I may switch down a couple f-stops to make sure my whole subject is focused well. You may have heard of the “sunny 16” rule…I like to believe this exists to help understand the concept of aperture (or maybe for landscape focused photography), but I would never go down that low, possibly because I don’t usually want the entire scene to be fully in focus. I like my subject to ‘pop’ from the background, which calls for a higher aperture. I usually find myself between the f/2.8-4 range in broad daylight.
Once I have all these settings ready to go, shutter speed is what I adjust the most, as the light changes based on where I position my subject. Where I start depends on the situation, but it may be around 1/125 or 1/250 with changes from there.
Positioning
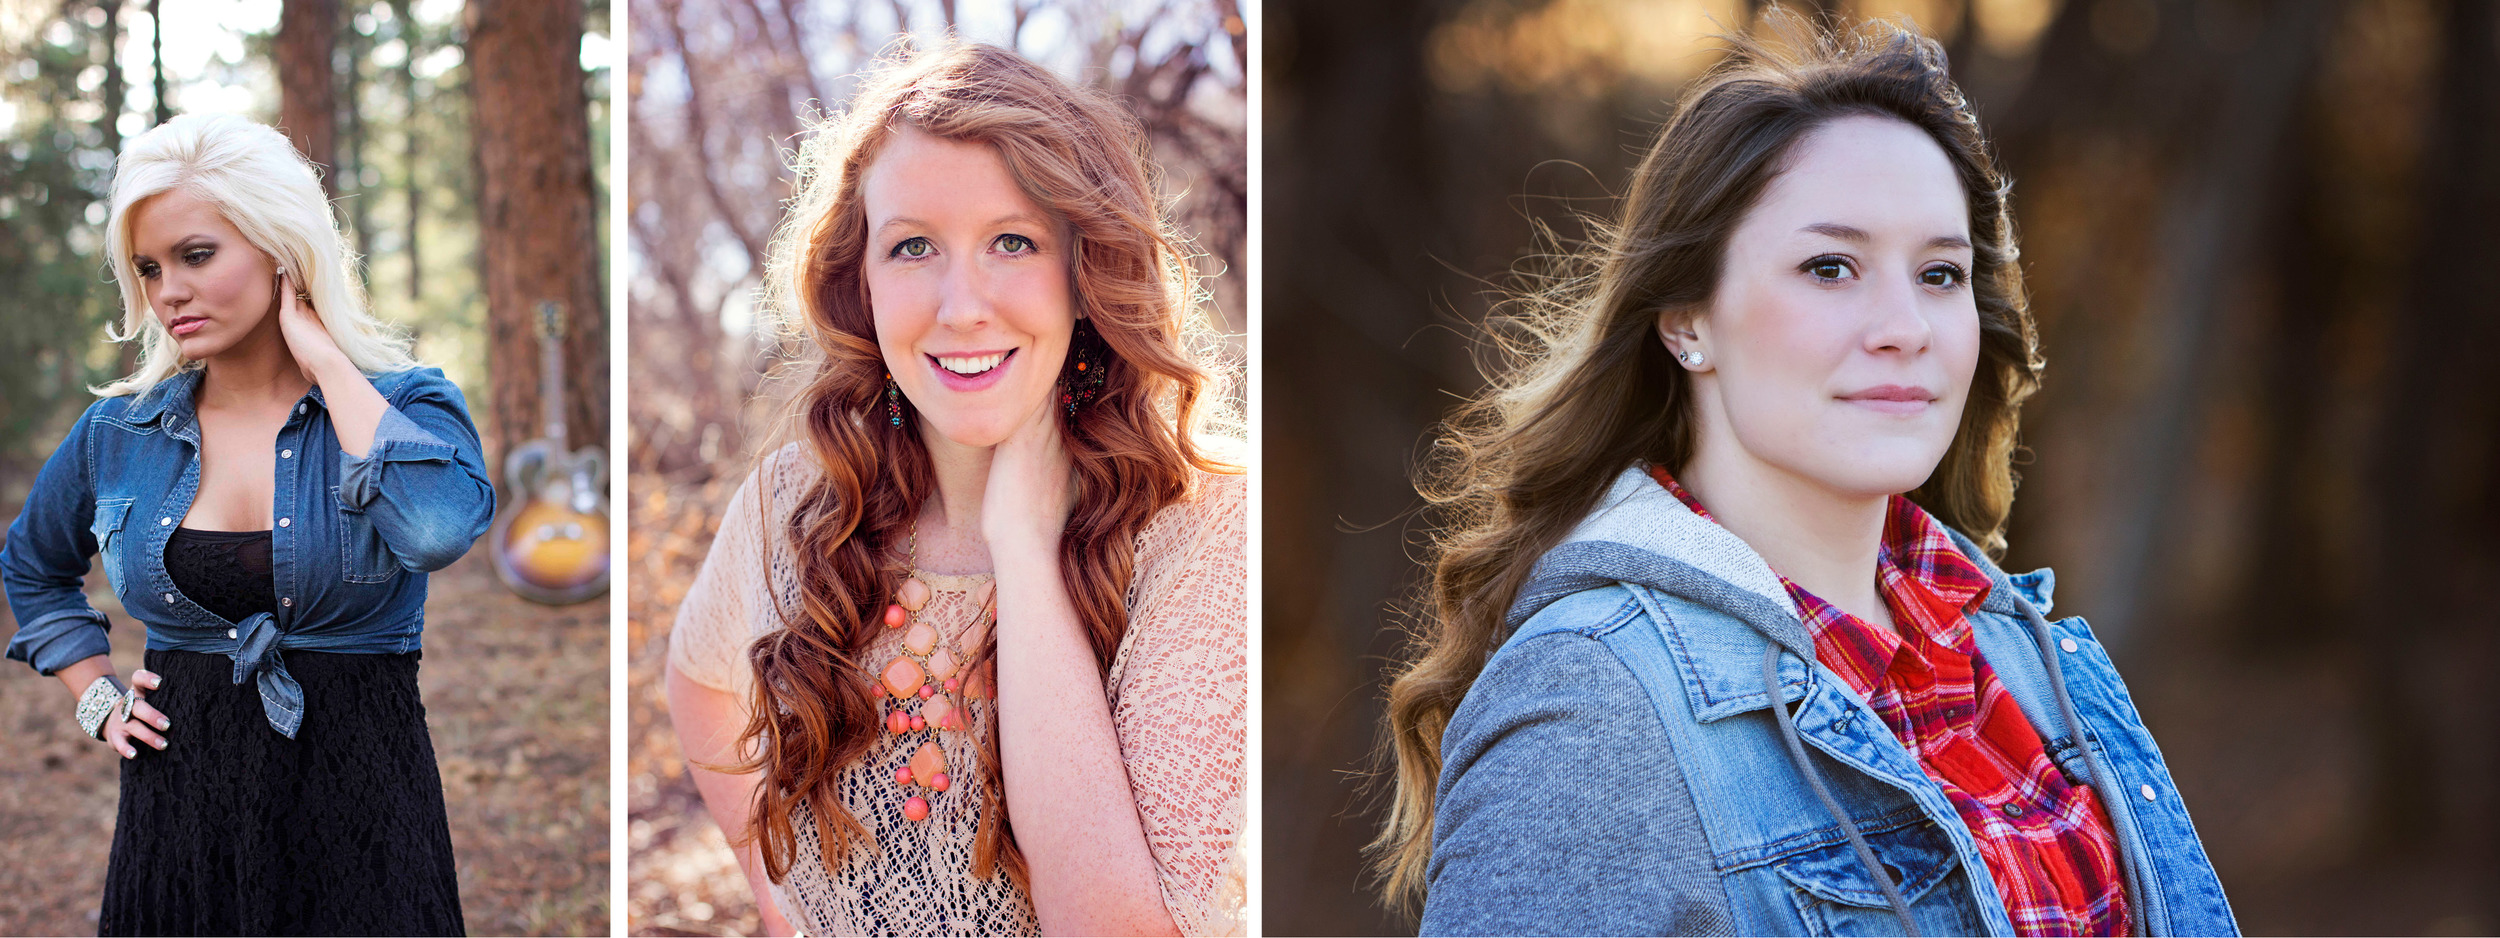
Unless it’s absolutely smack-dab in the middle of the day, the sun won’t be directly above your subject. If it isn’t too bright, you may be able to face them towards the sun and get a catch light in their eyes that way, but most likely (if they are looking at the camera) they’ll just be squinting and shadows will be harsh under their nose and chin. I like to position my subject so the sun is behind them, illuminating their hair. If at all possible, avoid the light coming from the side, as it will result in harsh shadows being cast across their faces.
If it is the middle of the afternoon and the overhead sun is unavoidable, I like to choose locations with a good amount of shade. This is a good thing to check out beforehand though because if the trees aren’t very thick (blocking almost all of light in some areas), the shadows cast might be even worse than just shooting out in the open! One of my ‘go-to’ positions is placing someone near the edge of a shaded spot with their face in the shade and the sunlight hitting their hair. If you don’t have many options for shade, you can help avoid harsh shadows on faces by having your subject lean slightly forward, down and toward the camera; too much and it may look awkward, but you’ll be the judge of that!
Lens Flare
Something you may run into with the sun being directly behind your subject is lens flare. This can certainly be used creatively, but a sharp, bold look is typically more coveted than a photo that is too washed out. If your lens hood still lets in too much light, you can hold your left hand over the top of your lens while you take the photo to shade some of the sunlight, similar to shading your eyes when squinting on a bright afternoon. I’ve even seen people (like the famous Scott Kelby) use a hat to shade their lens)!
Flash/Fill Light
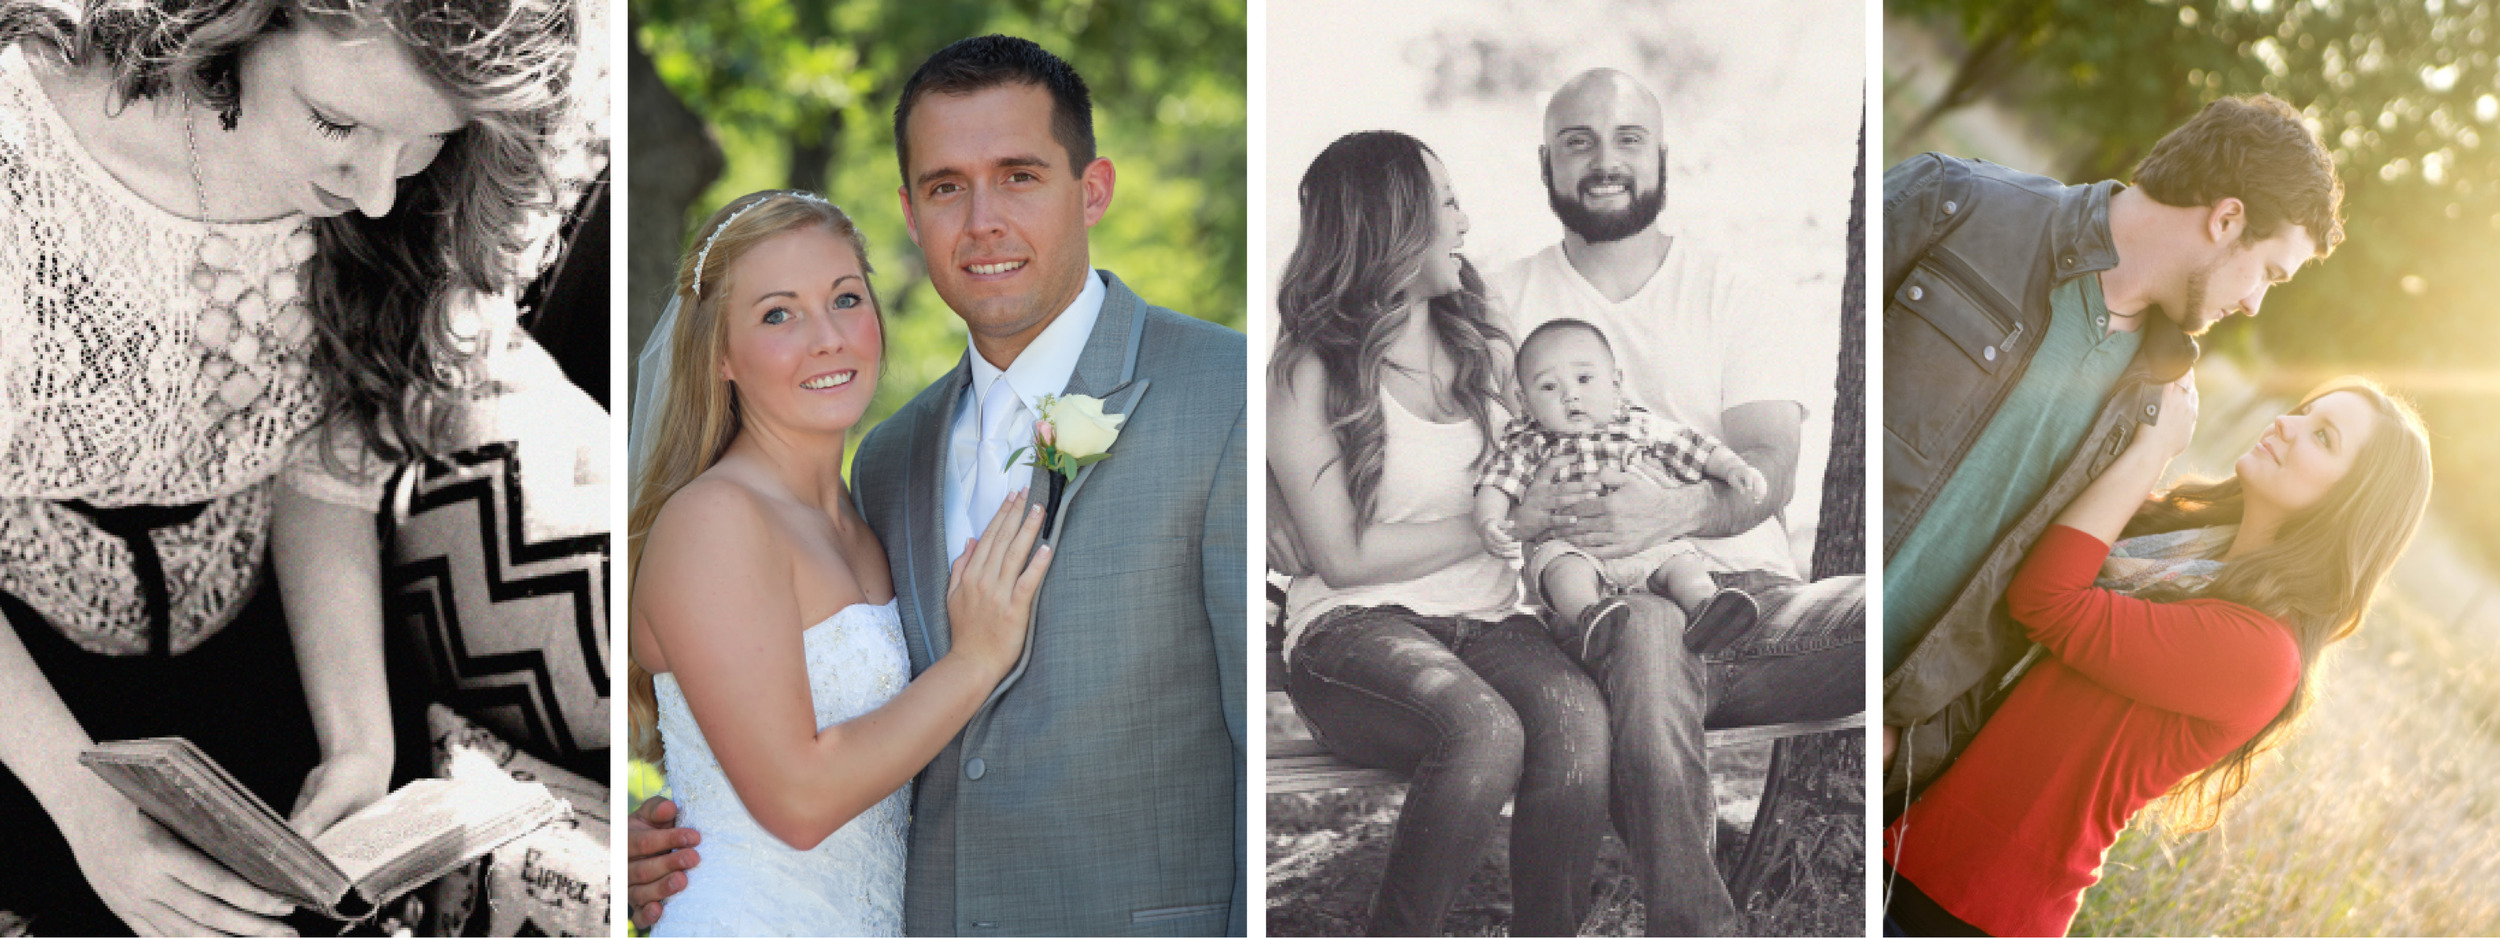
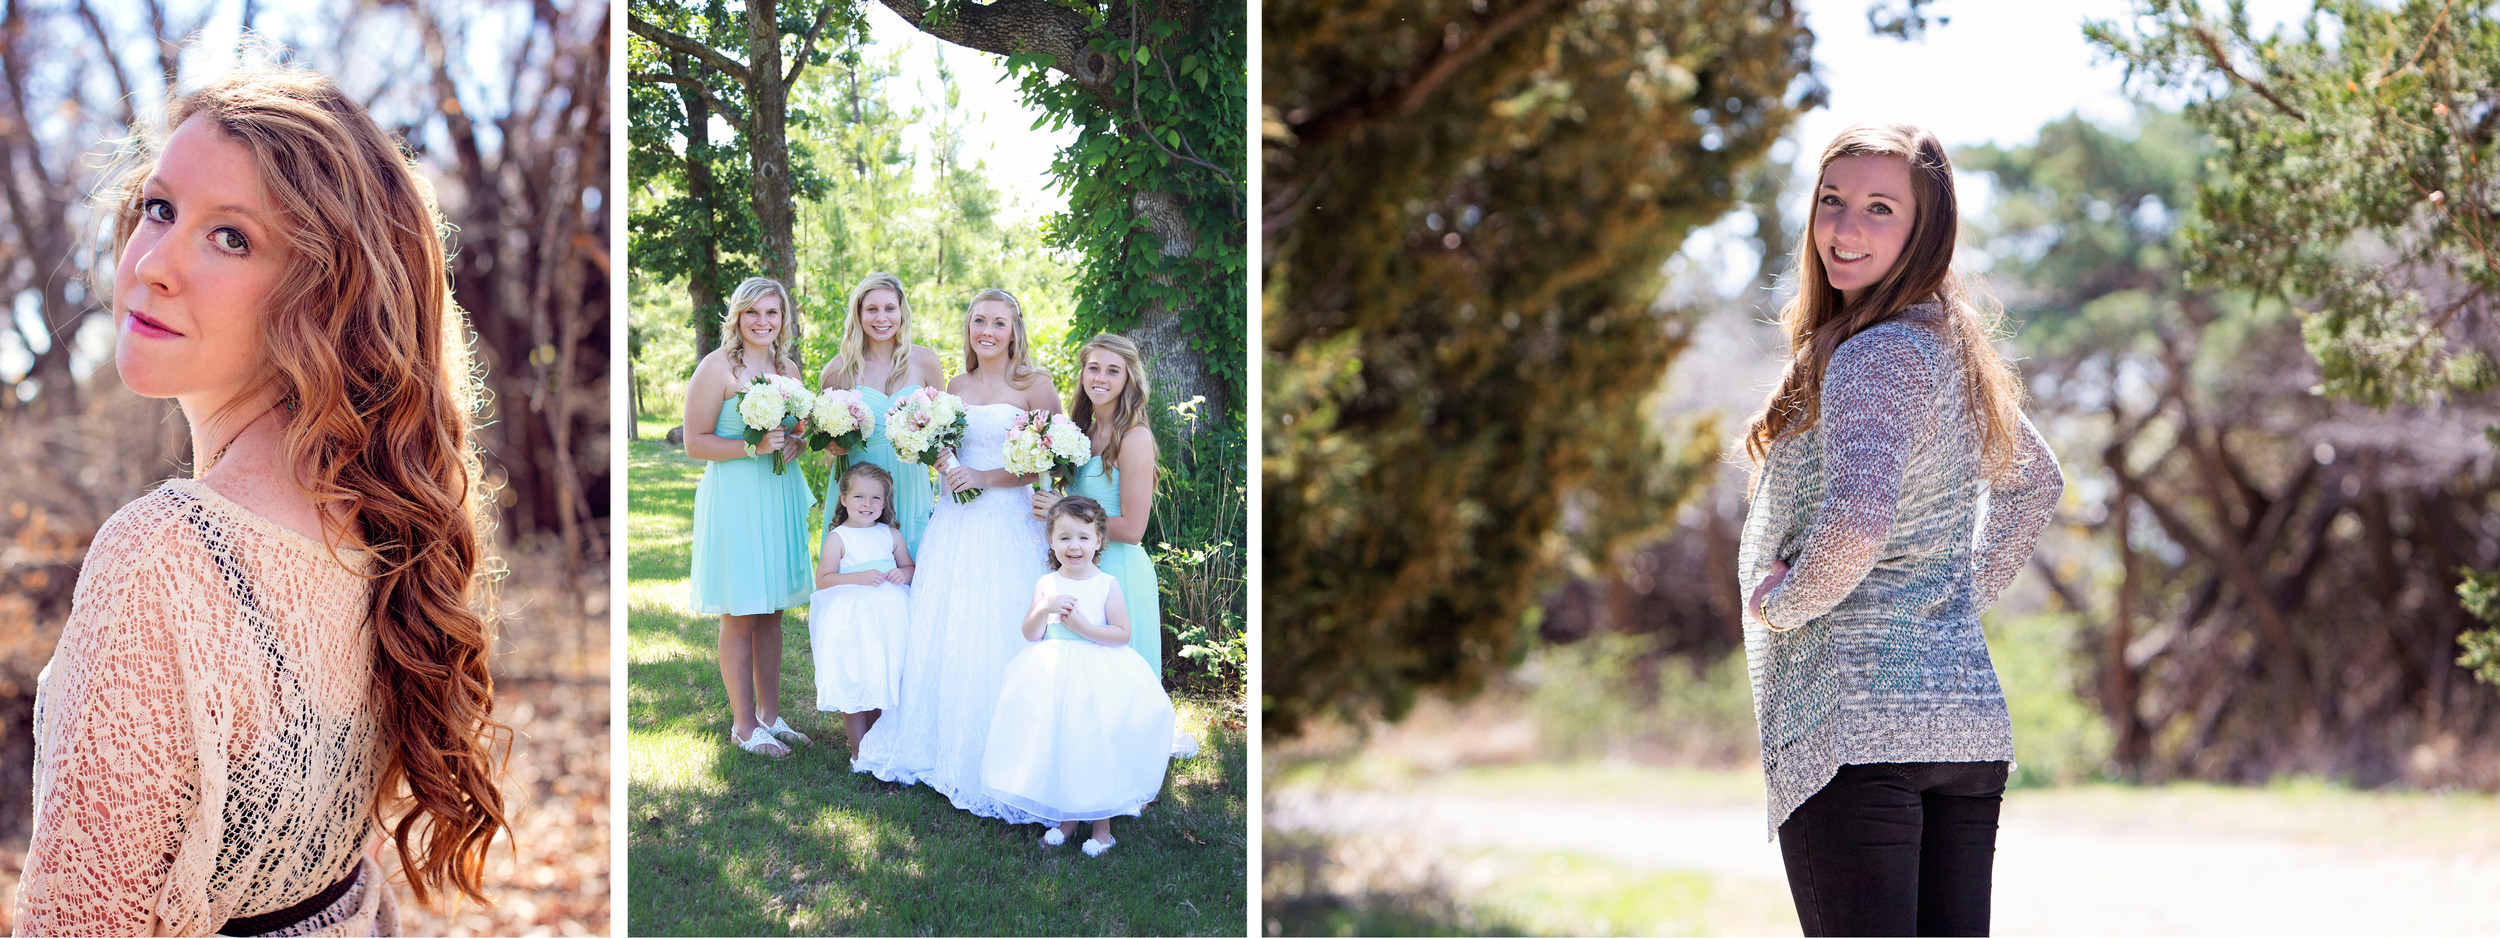
I typically don’t use a fill flash/reflector because I often don’t have an assistant helping me, but sometimes it is unavoidable. Especially at events like weddings I don’t have total control over the setting because of location and timing. For example, during group shots in the middle of the afternoon at one wedding, we had easy access to shade, but so much light was coming through the trees that it was casting tons of small shadows onto the faces of the wedding party. I pulled out my external flash and, by shooting it directly at them, was able to fill in the shadowy areas (see bridesmaids below).
If the subject is positioned in a shady area facing toward anything dark (ex. a thick forest), I would highly suggest adding fill light. However, if they are out in the open (ex. a field), the sky and open ground will act as a natural reflector and bounce much of the light coming from behind them back onto their faces. Even so, a reflector or fill light can really make your images look sharper and more professional as it evens out the contrast in the overall image and makes sure to not miss the catch light in the subject’s eyes.
Make sure to comment below with tips that have helped you conquer shooting in broad daylight!!
Leave a Reply

the list
Be the ultimate insider. Get updates on my latest shoots, tips for planning your dream photo session & where I'm headed next. My email subscribers always hear about big updates before anyone else!
JOIN THE FUN

education Community
Are you a creative entrepreneur? Come join my small but mighty education community, where we are learning and growing together! I'm an open book and love to share about all the photography & business stuff behind-the-scenes stuff here!
Let's Grow Together!
Thanks so much for doing this! It’s very helpful!
I’m glad you found it helpful!