


post filed in:
Flodesk Overview: The #1 Email Service Provider for Visual Brands

In this post, I’ll walk you through the basics of the email service provider I use (and love) called Flodesk. There are lots of ESP options out there, but Flodesk has been the most user-friendly, affordable, visually appealing option I’ve found and is a perfect fit for creative entrepreneurs with very visual brands like myself.
If you are just getting started, you may consider using Mailchimp’s free version to start building your list from past clients while you plan for what you want to share more consistently once you switch to a paid version or another platform. Some other amazing options that are more expensive but also have more capabilities than both Mailchimp and Flodesk are ConvertKit and Drip, but for my purposes, and possibly yours too, Flodesk does everything I need and isn’t a headache to figure out!
Typically email service providers will charge you a monthly fee based on how many subscribers you have, but another beautiful feature of Flodesk is that their fee stays the same no matter what, which means you can have unlimited subscribers and access to all of their features for $38 per month. But if you use this link, you’ll be locked into 50% off for life – $19 per month for unlimited subscribers? It’s unheard of, you guys.
Here’s a video walk through – just keep scrolling if you prefer to just read!

The four sections you’re going to see when you log in to your free trial are:
- Emails
- Audience
- Forms
- Workflows
They are pretty self explanatory (like I said, it’s easy to navigate), but I’ll walk through each one.
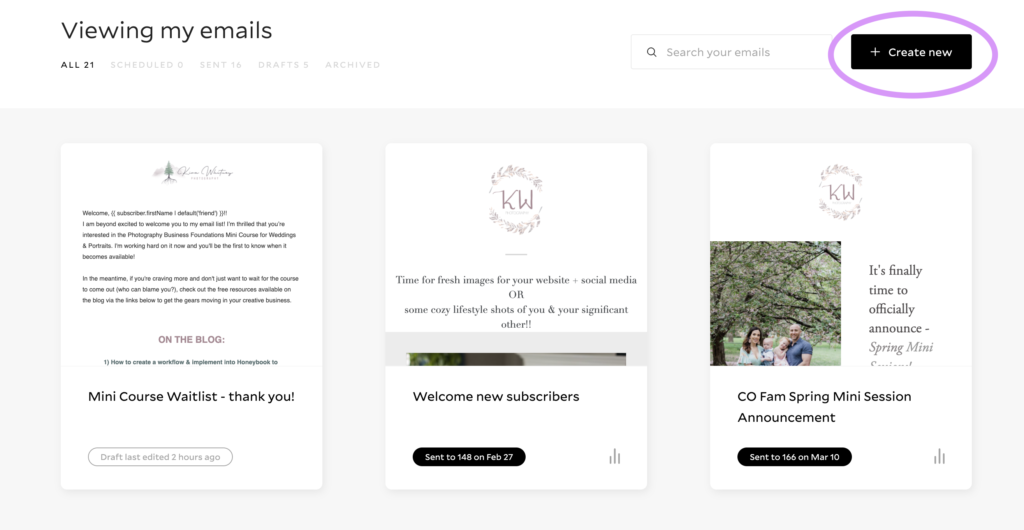
Flodesk Emails
This is where you can go to create a new one-off email to send to your subscribers. You can either choose one of their stunning templates to start with or start your own email from scratch. Once you get your brand and business set up with the system, it will automatically pull in your logo and social icons whenever you include a content block with those items.
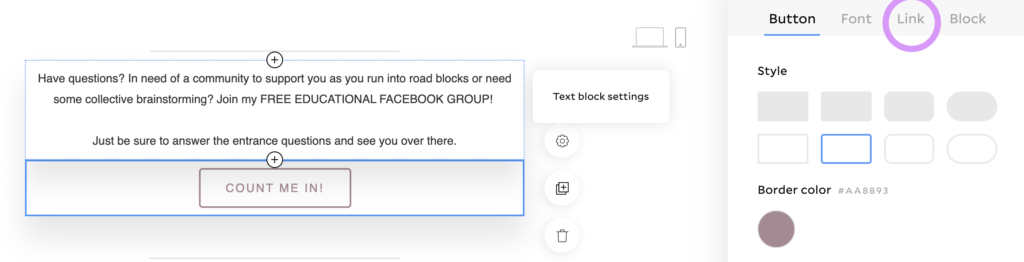
When you click customize to start editing your email, you can swap out certain blocks or just change the info, images, and wording in it. While clicked on a content block, use the LINK tab to redirect to an external link like a certain blog post or to attach a file. The file attachment feature will be important to note for later if you are wanting to run an opt-in to your email list where you include a downloadable freebie.
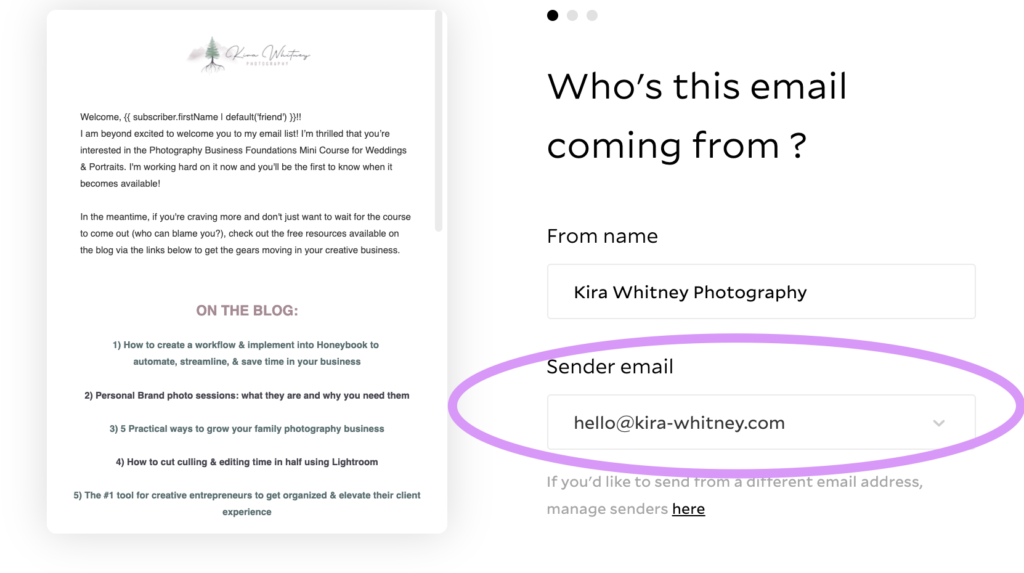
When you are happy with how your email looks, you’ll hit NEXT in the top right hand corner to select who the email is coming from. I would highly suggest creating a business email address if you don’t have one as mass emails from Gmail addresses often end up in junk mail. Just go here to create your G-Suite business email, and if you want you can set any incoming emails to just redirect to your regular email account so you don’t have to worry about checking multiple inboxes.
When you click Continue, you’ll be able to set your Subject Line and the small preview text snippet people will see when they receive your email.
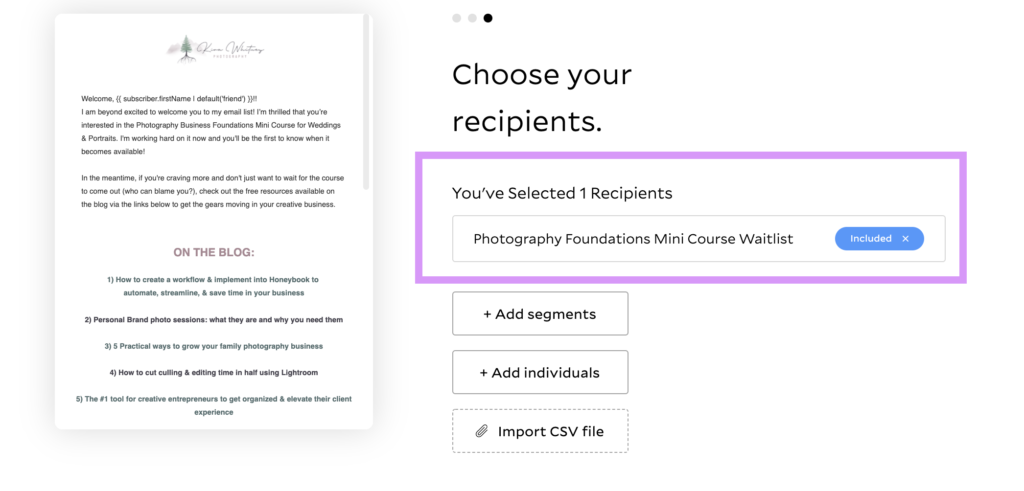
When you click Continue, you’ll be able to choose the Recipients for your email. I’ll talk through Segments more in the next section, but basically you can send to your whole list, certain groups of people, or just certain individuals. You can even exclude certain segments if you want to send to everyone except them. You’ll want to set up your Segments ahead of time to be able to select here.
Then you can choose to send your email right away or schedule it for a later date and time.
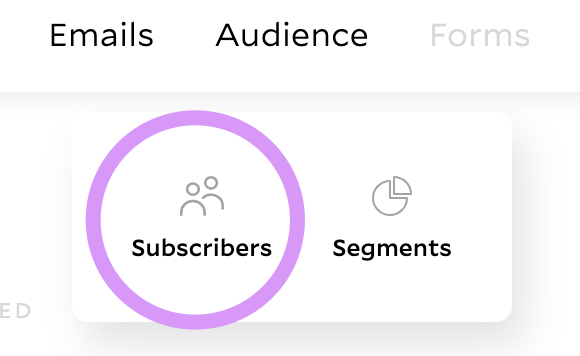
Flodesk Audience
Just like it sounds, this is where you’ll go to add or update subscribers and organize them. To view the list of individuals who are on your email list or add a new one, click Subscribers from the dropdown. From here you can click into each subscriber and see the data on how many emails they have received, how many they have opened, what segments they are listed under, etc.
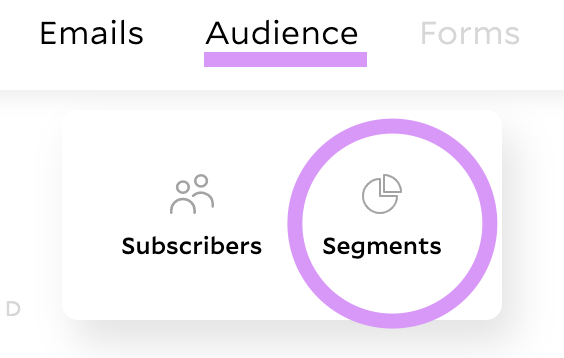
If you click Segments from the Audience dropdown, you’ll be able to create new segments to keep your subscribers organized and make sure you are only sending relevant information to each of them in order to provide value and not annoy anyone with emails that don’t pertain to them.
For example, I offer photography in Colorado because I live here, Kansas City because I used to live there, and Northwest Arkansas because my husband’s family lives there. So I have segments for each of these areas to make sure I’m not sending unnecessary updates to my Northwest Arkansas people about something I’m offering here in Colorado.
Every time a client does a session with me, I make sure to add their email address to my list and segment them appropriately so the next time I offer something or want to send something helpful in order to stay front of mind, I’m reaching as many people as I can (please note, it’s in their contract that they agree to be added – it’s illegal to add someone to your email list without their permission). This is especially great for when I travel to the other areas because I’ll usually send out an email or two announcing the dates that I’ll be in town and will have availability and I usually have a few of my regular clients book with me during that time frame, which pays for the trip!
Besides communication with potential clients, I also have a community of creative entrepreneurs so by having a segment for that, I can reach out to let them know about new educational blog posts (like this one) or new offerings or discounts on items in my shop!
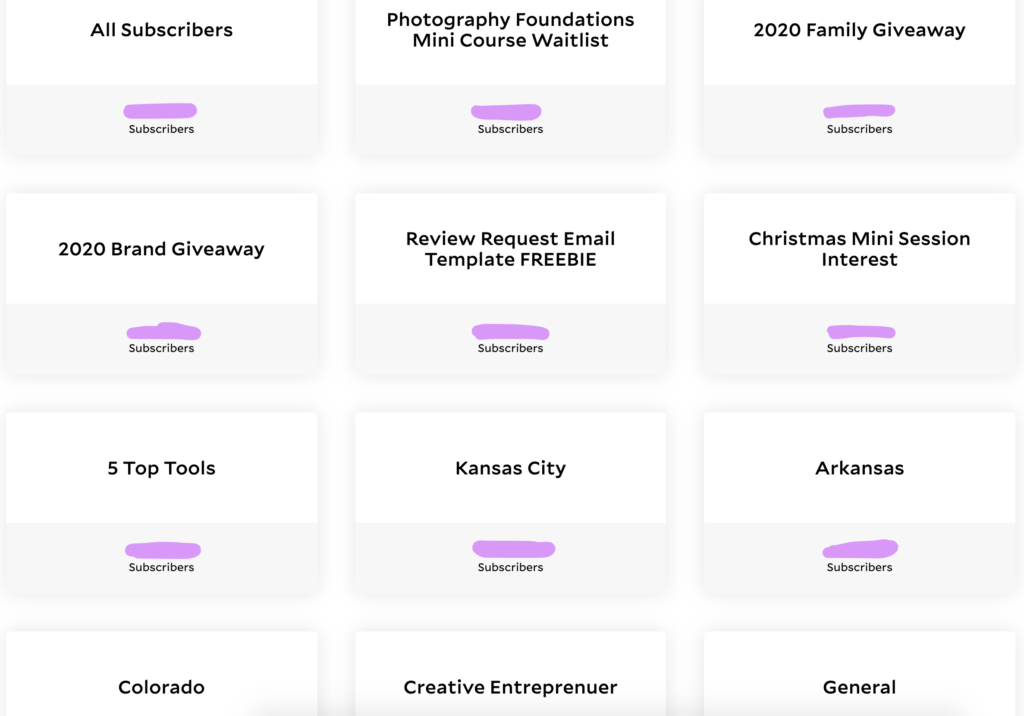
Lastly, each time you do an opt-in or waitlist, you’ll want to create a separate segment so you can tell exactly where subscribers came from and what they are expecting to hear from you.
For example, when I moved to Colorado, I ran a photo session giveaway on Instagram to build my email list and meet some new people. I had them fill out a form that let me know whether they would use the session for family photos or for personal brand photos. Once I announced the winner, I added everyone’s emails to Flodesk by separating them in two Excel sheets and uploading the CSV file into two separate segments called “2020 Brand Giveaway” and “2020 Family Giveaway.” That way I was able to announce the winner in one email to BOTH segments and then send a couple separate follow up emails with resources and a small value add if they booked a session with me within a certain amount of time. Those follow up emails were catered to the different types of people I was communicating with (families or small business owners) so it was a more personal experience and not just more junk in their inbox.
Flodesk Forms
In the Forms section, you’ll be able to create 3 different types of forms:
- Popup
- Inline
- Full Page
Popups can be set to appear after a certain number of seconds that someone has been on one of your webpages, when they have scrolled 30% down the page, etc. Inline will always be visible on a certain part of the page and full page forms will take them to a totally different URL that has only the form information on it.
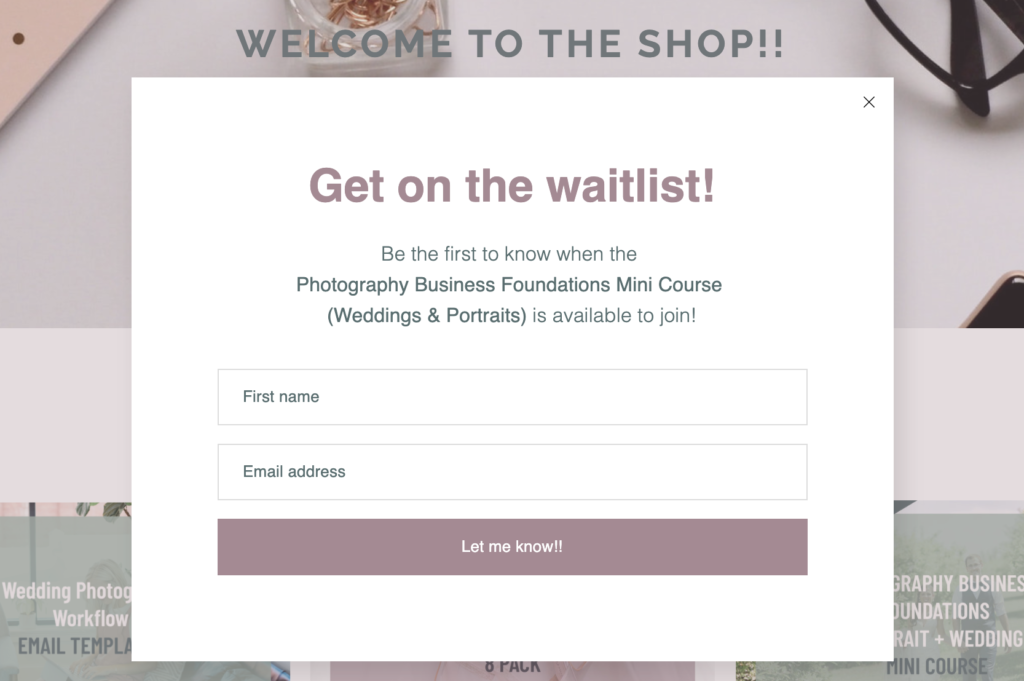
I have the link to a full page form at the bottom of my website on every page so it’s always accessible there for people to sign up for my general email newsletter (many people choose to do an inline form to always be visible instead). I also have a popup form for the same general newsletter signup that pops up when they scroll 30% down any page on my website, but I limit that to the first time they visit my site so it doesn’t get too annoying, especially if they already signed up the first time. I typically use full page forms for any specific opt-in or waitlist.
For example, I currently have a waitlist for my Photography Business Foundations mini course so people can click “Get on the Waitlist” and be redirected to the full page form to enter their email. I also have a PopUp for that on my Shop page since that’s the main call to action I want visitors to take when they reach that page.
Once you choose your form type, you’ll be prompted to select a Segment to add the subscriber to if they fill out that specific form. So I initially created a segment for my mini course which is what I would select for that full page form. That way, I’ll easily be able to send out notifications regarding the course launch date to ONLY those subscribers (and maybe my Creative Entrepreneur segment as well since it may be something they are interested in).
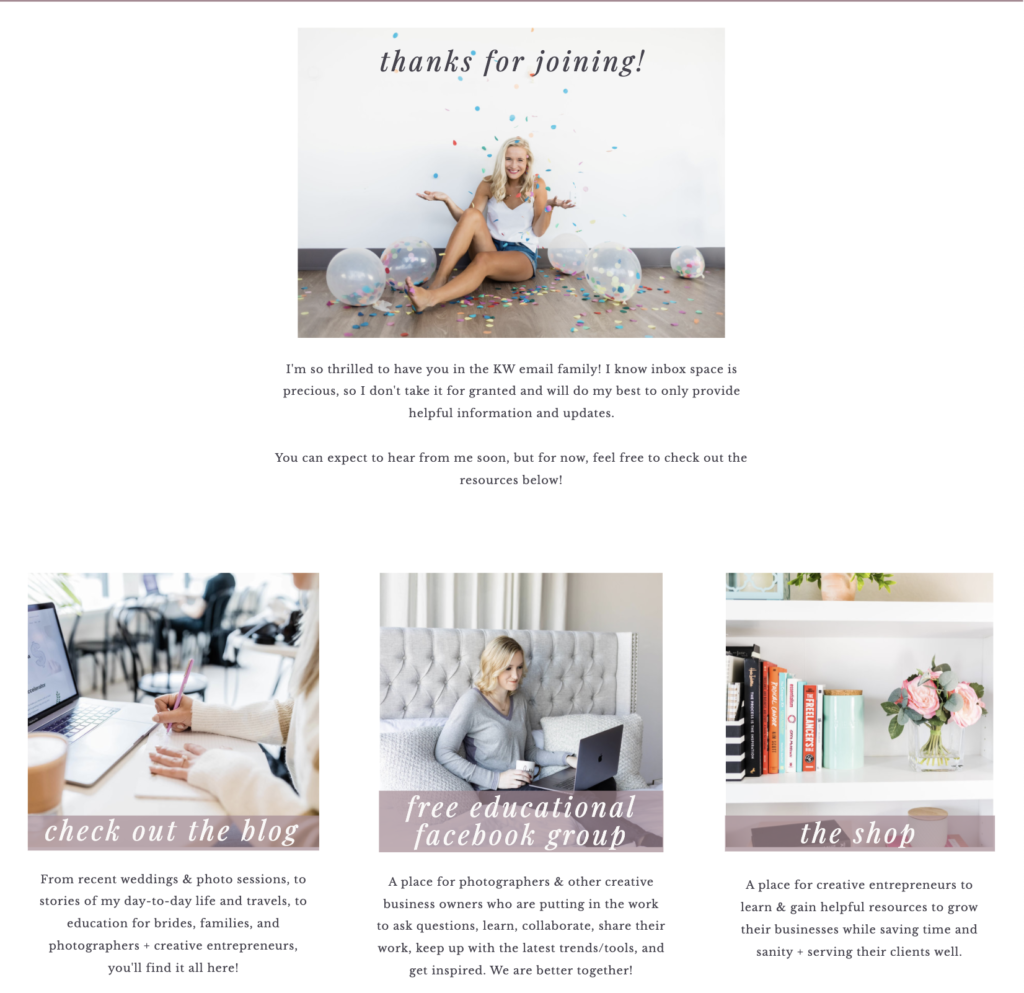
Once you design your form and click “Next” in the top right corner, you’ll get to select if you want to be notified when someone subscribes as well as if you want to just display a success message or redirect them to a URL. I’d suggest creating an unlinked Thank You page on your website that you can redirect them to in order to keep them engaged and lead them to whatever the next step might be. You can see mine as an example here – when they enter their name and email and then click the submission button, they’re sent here and prompted to visit the blog, my Facebook education community, or the shop.
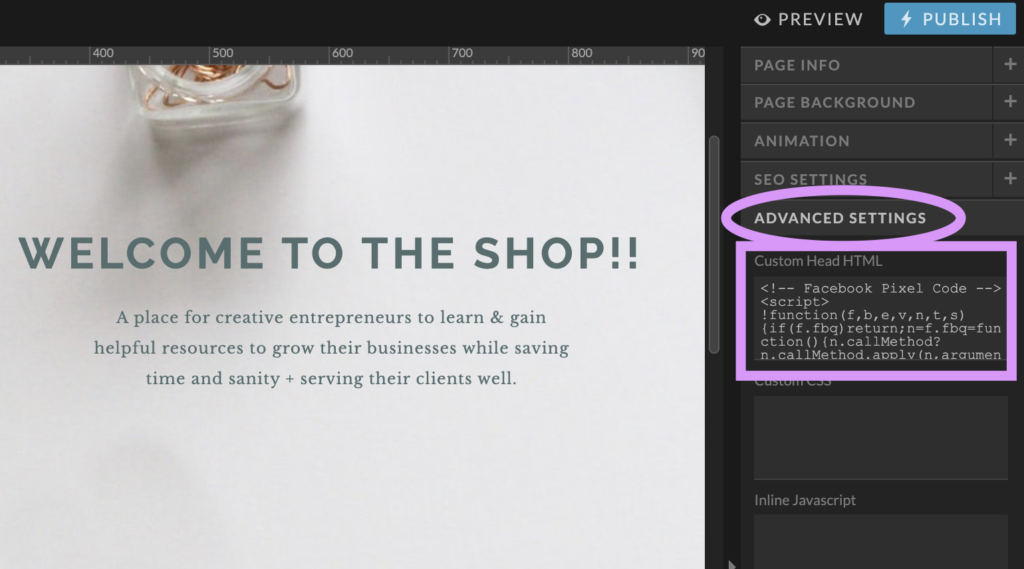
Once you have your form created, you’ll need to either add the link to the full page form wherever it makes sense (your website, Instagram bio, etc.) or copy/paste the code for an inline or popup form on the appropriate page of your website in the code injection spot. For example, I use Showit for my website platform so I go to the page, click the Advanced tab, and paste it into the Custom Head HTML section.
**Please note: the Flodesk form itself is not where you’ll attach any freebies or information you’re offering. That will be in the email they automatically receive after hitting SUBMIT on your form and I’ll show you how to connect all of that in the next section about workflows.
Flodesk Workflows
The word workflow can be used to describe a lot of different things. In this case, you may be familiar with the term “email sequence” from another email service provider and that’s exactly what the terminology is referring to here.
You can have Evergreen workflows like a welcome sequence when someone first signs up for your general newsletter as well as custom workflows for each opt-in, waitlist, etc. that you want, which is how someone would receive a freebie you’ve offered after filling out the form! To see what I mean, when you navigate to the workflow section of Flodesk and create a new workflow with one of their templates or from scratch, you’ll be able to set it to start the workflow when a subscriber is added to a certain segment.
So for my general newsletter form that is both an inline form on my home page and a popup on every page, if someone fills that out, they are added to a segment I created called General since I might not know much about them or what they might like to receive from me yet. When I create my welcome series workflow, I just have the initial Trigger set to “a subscriber is added to a segment” and I choose “General” as that segment. Then I can add an email to be sent to them right away as confirmation, welcome, what to expect, etc. If they had filled out a form promising them a freebie, I could attach that in the first email for them to be able to download.
Then I can choose between four options for what to do next:
- Time Delay
- Condition
- Action
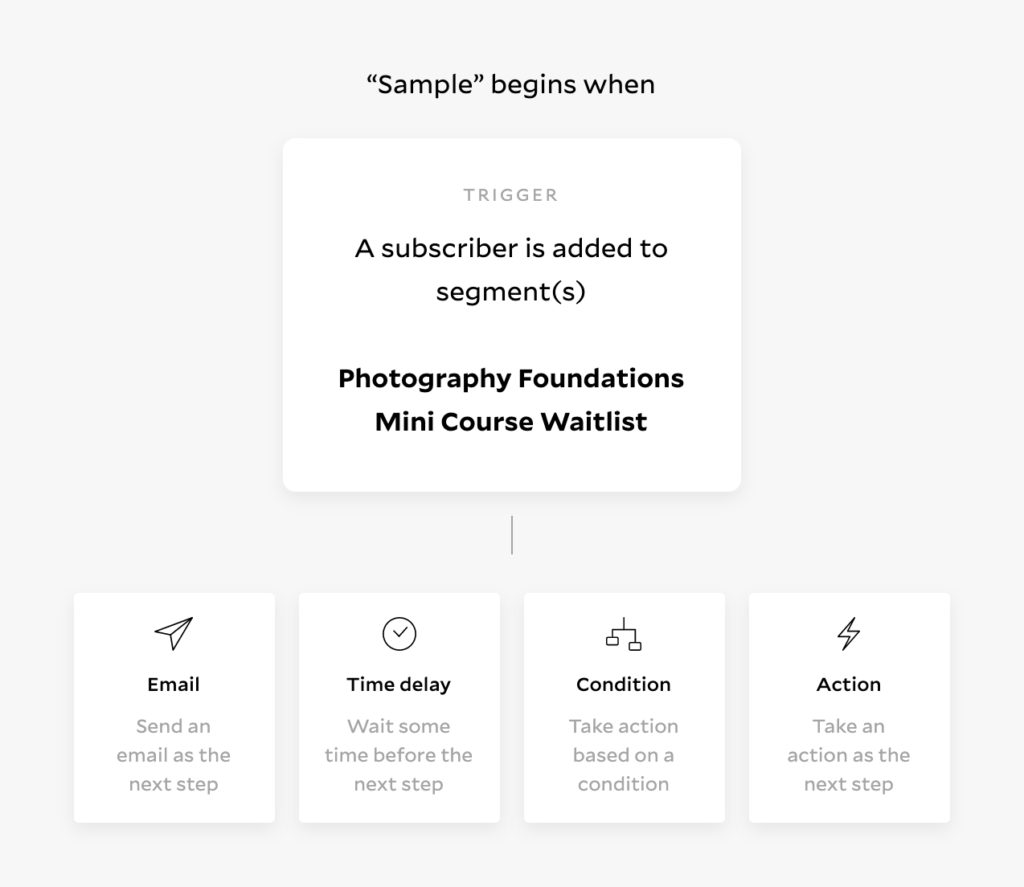
The time delay will probably be most common if you’re starting out so then you could create a couple follow up emails a certain number of days after the initial welcome email was sent. A condition sets rules based on things like whether they opened the last email or clicked on a particular link. An action does something on the back end in order to help you keep your subscribers organized. Currently the only actions available are to add them to another segment or remove them from the current segment. This comes in really handy as you can add them to a more general segment when they get to the end of a workflow that’s specific to one opt-in.
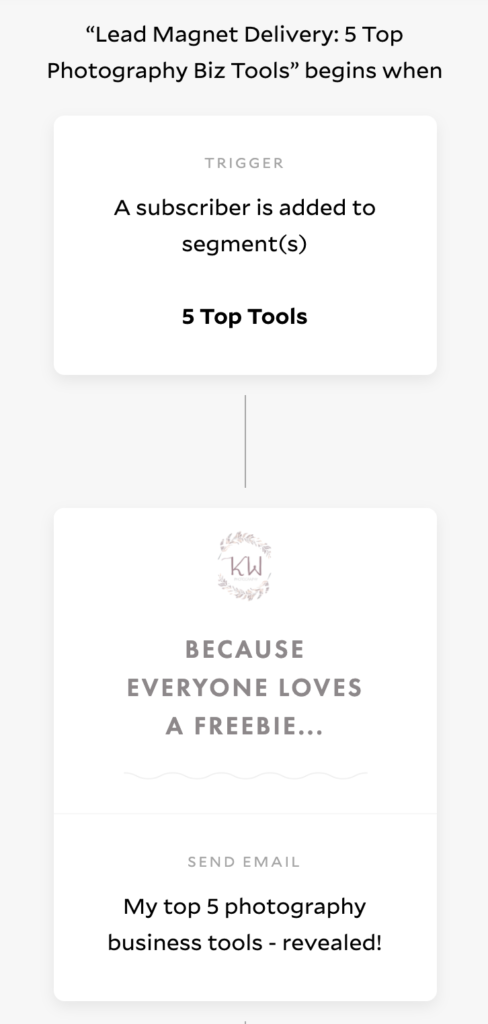
For example, when someone signs up for my Top 5 Photography Business Tools freebie, I have a short workflow to send them that freebie and then I have an action set that then adds them to my Creative Entrepreneur segment since they will most likely be the kind of person who would be interested in other education or opportunities revolving around photography and owning a creative business.
**Something to note about workflows: You can use pre-existing emails that you’ve already created and add them to a workflow OR you can start creating your workflow and just create the emails right inside the workflow. I would suggest creating those inside the workflow most of the time so you don’t have a bunch of duplicate emails since you’ll have to duplicate a pre-existing one in order to add it to a workflow.
QUESTIONS? Join my free educational Facebook group and ask away – I’d love to help!

the list
Be the ultimate insider. Get updates on my latest shoots, tips for planning your dream photo session & where I'm headed next. My email subscribers always hear about big updates before anyone else!
JOIN THE FUN

education Community
Are you a creative entrepreneur? Come join my small but mighty education community, where we are learning and growing together! I'm an open book and love to share about all the photography & business stuff behind-the-scenes stuff here!
Let's Grow Together!