


When I was first getting into the photography world, one of my biggest questions was how to achieve bokeh in my photos. Okay, rewind…what’s bokeh? Only the single greatest discovery ever!! Okay that’s an overstatement, but it’s absolutely one of my favorite things about photography 🙂
Bokeh comes from a Japanese word meaning “blur quality.”. A little more specific definition is “aesthetic quality of blur in out-of-focus areas of an image.” Oftentimes, because of the shape of the opening in the lens, the out of focus areas (bokeh) looks like small circles.

This is no new concept, but when I kept running across this word and even understood what it meant, the most frustrating thing was not understanding HOW TO ACHIEVE this effect! Bokeh is determined based on the Depth of Field, the distance (or seeming distance) between the closest and farthest subjects in a scene. Throughout the past few years, I have come to understand 3 basic ways to produce and adjust bokeh and depth of field: aperture, distance of the subject from the camera, and lens focal length.
Let’s break down these terms a bit.
-
Aperture is the size of the opening in the lens when a picture is taken and, therefore, how much light is let in to the sensor. It is characterized by “f-stops” (focal ratio) which describe the ratio of the lens’s focal length (described below) to the diameter of the lens opening. Don’t freak out if you don’t understand this. It takes practice to really understand how this works in correlation with the other settings on your camera and honestly you don’t have to fully understand it to use it! I just felt the need to describe it so that you can know what to look for on your camera and eventually realize what is happening when you change certain things. Here is just one more thing to confuse you: the lowest numbers represent the largest apertures, while the largest numbers represent the lowest apertures. For example, many kit lenses (the usual ‘starter’ lenses that come with SLR and DSLR camera bodies) only open up to f/4, while many (usually more pricey) lenses can go all the up to f/1.2, allowing for better low light shooting and the look of distance between the subject and background. Just remember: APERTURE = OPPOSITE as far as numbers go. The smaller the number, the larger the opening will be, therefor blurring out the background more. This places more focus on the subject and helps them “pop” from the scene.
-
Random tip – At higher apertures you typically want to be closer to your subject as it affects the range of focus. For example, a full body shot might not appear fully focused at apertures below 2.8 or so and both eyes on a head shot may not be in focus as wide open as f/1.2 if the plane of focus is not exactly straight on (ex. head tilt).
-

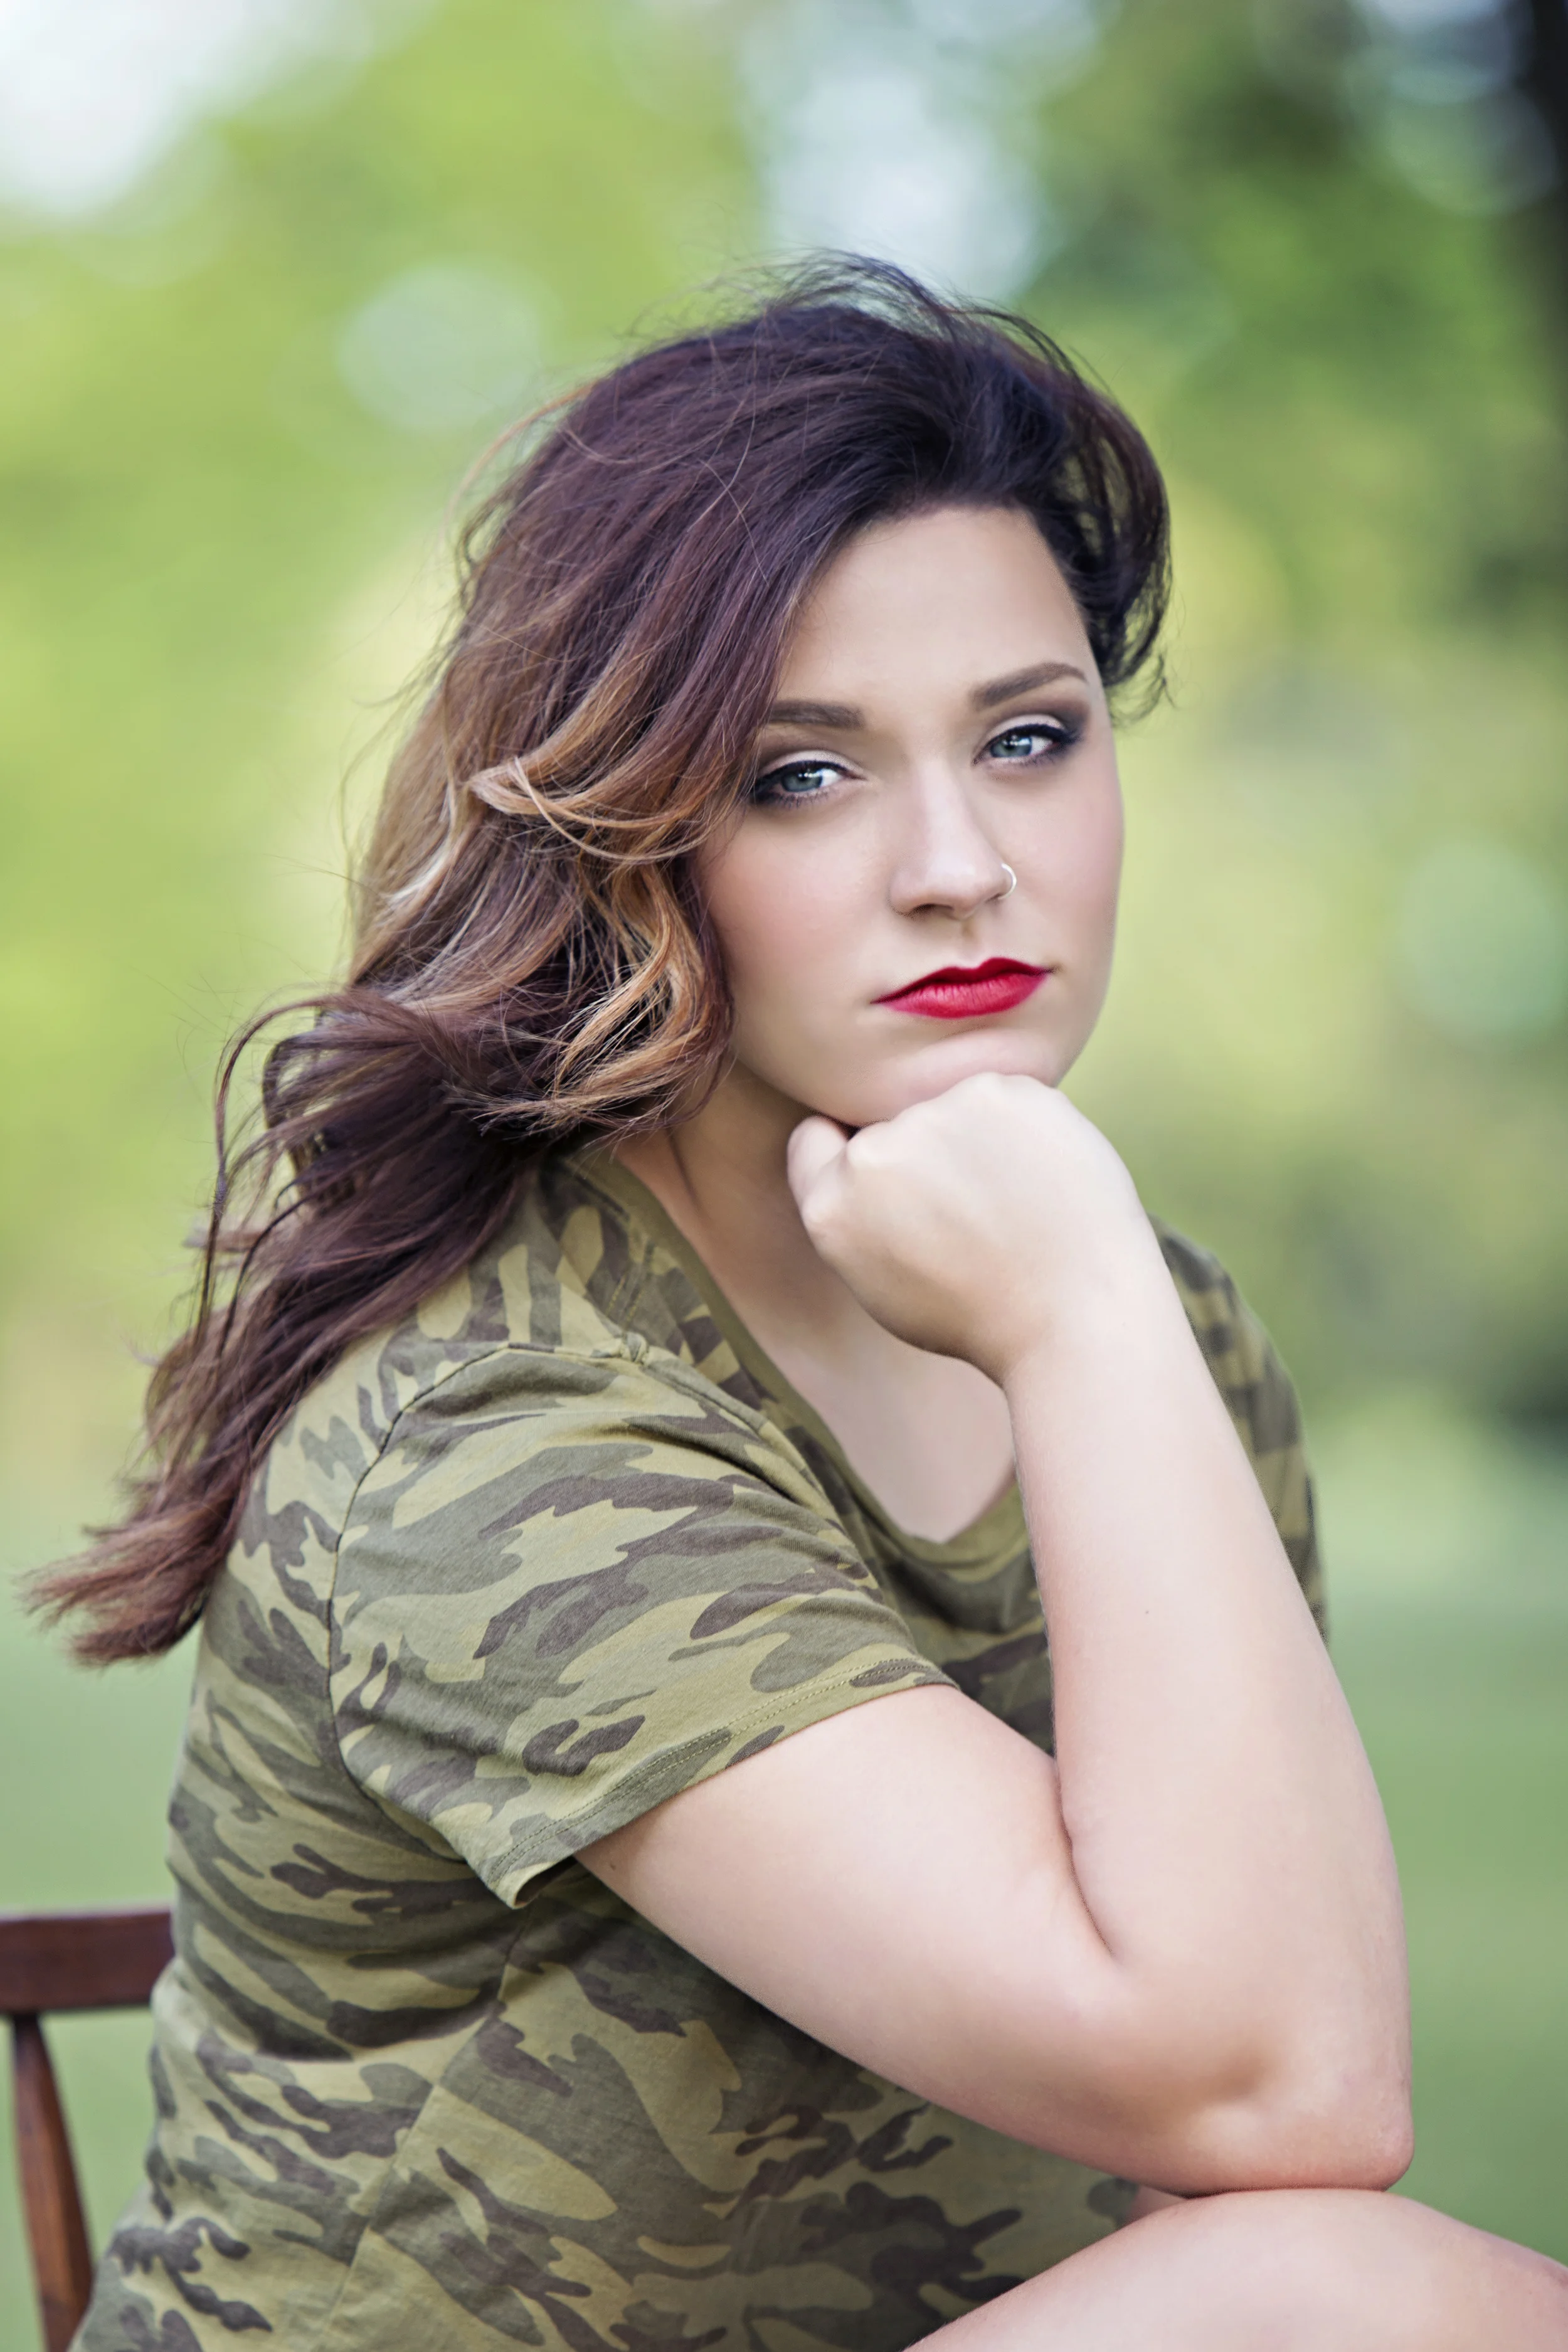
Canon 60D camera, 50mm lens, f/1.4, 1/80, 100 ISO
-
Distance – This one is much easier to understand! The farther your subject is from the background, the more blurred out the background will be (I wish I had learned this sooner!). For example, instead of putting a model directly in front of a cluster of trees, try moving them 10, 20, even 50 feet in front and he or she will stand out because of the increased blur that will appear behind them.
-
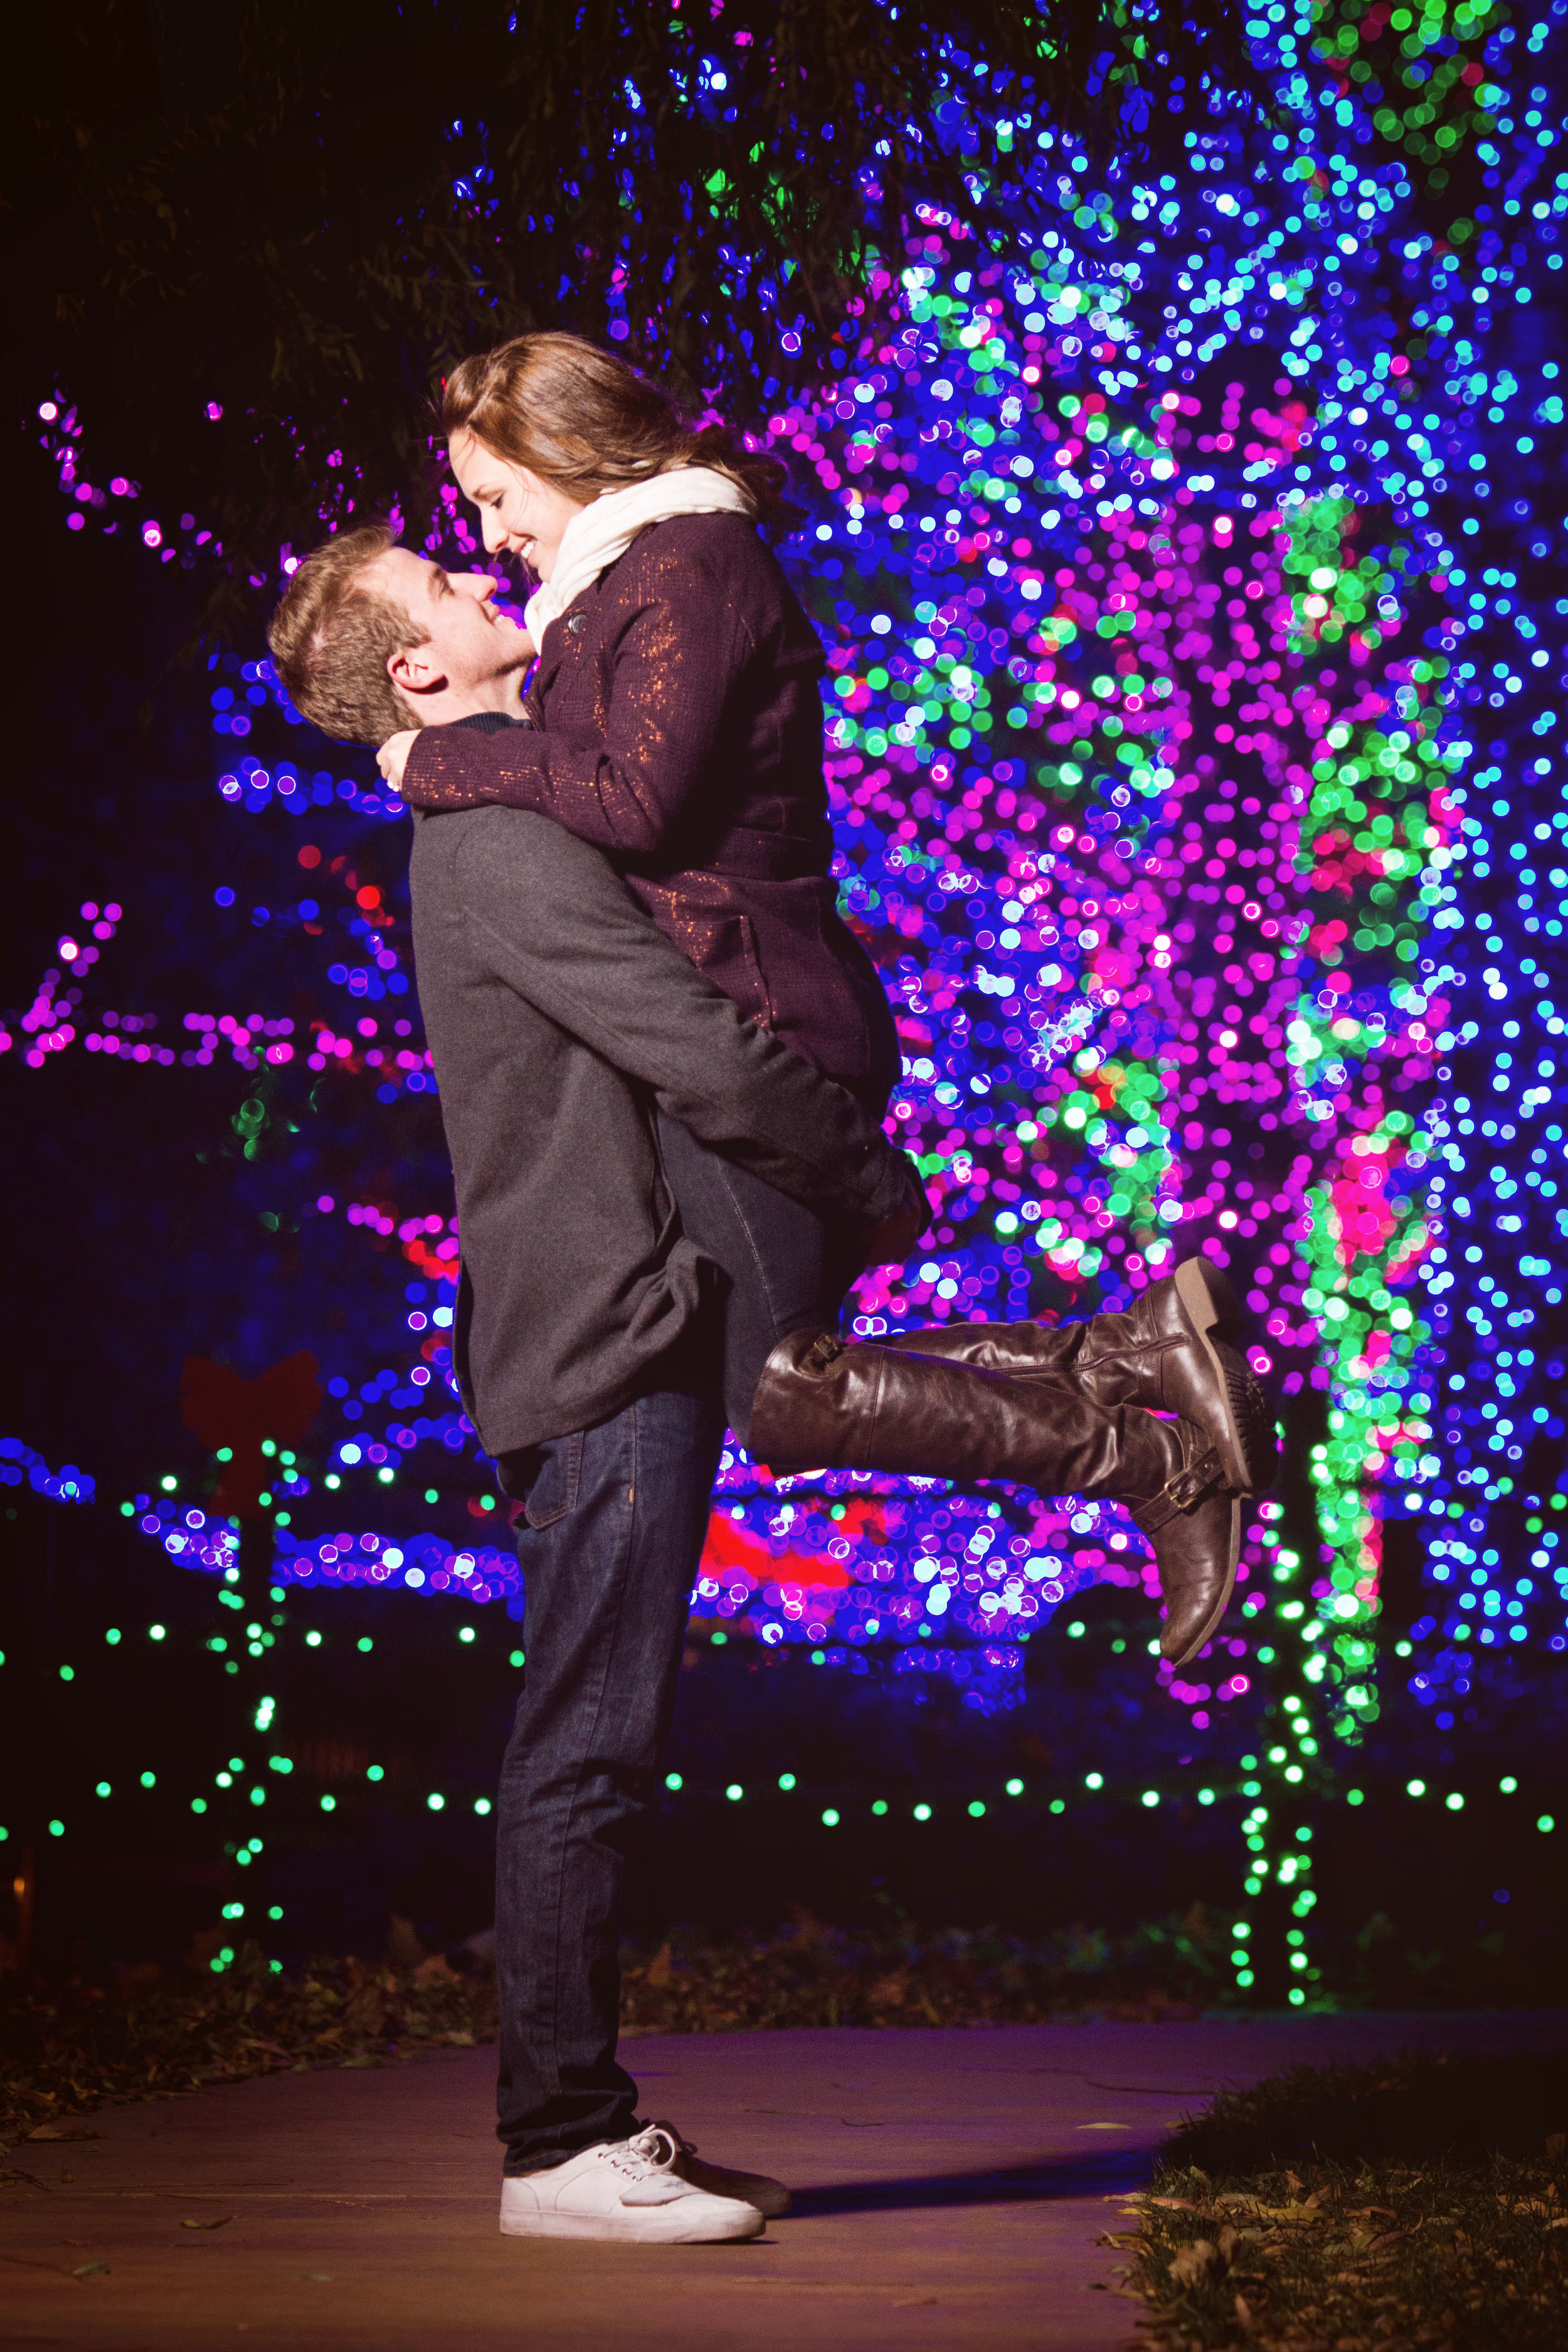
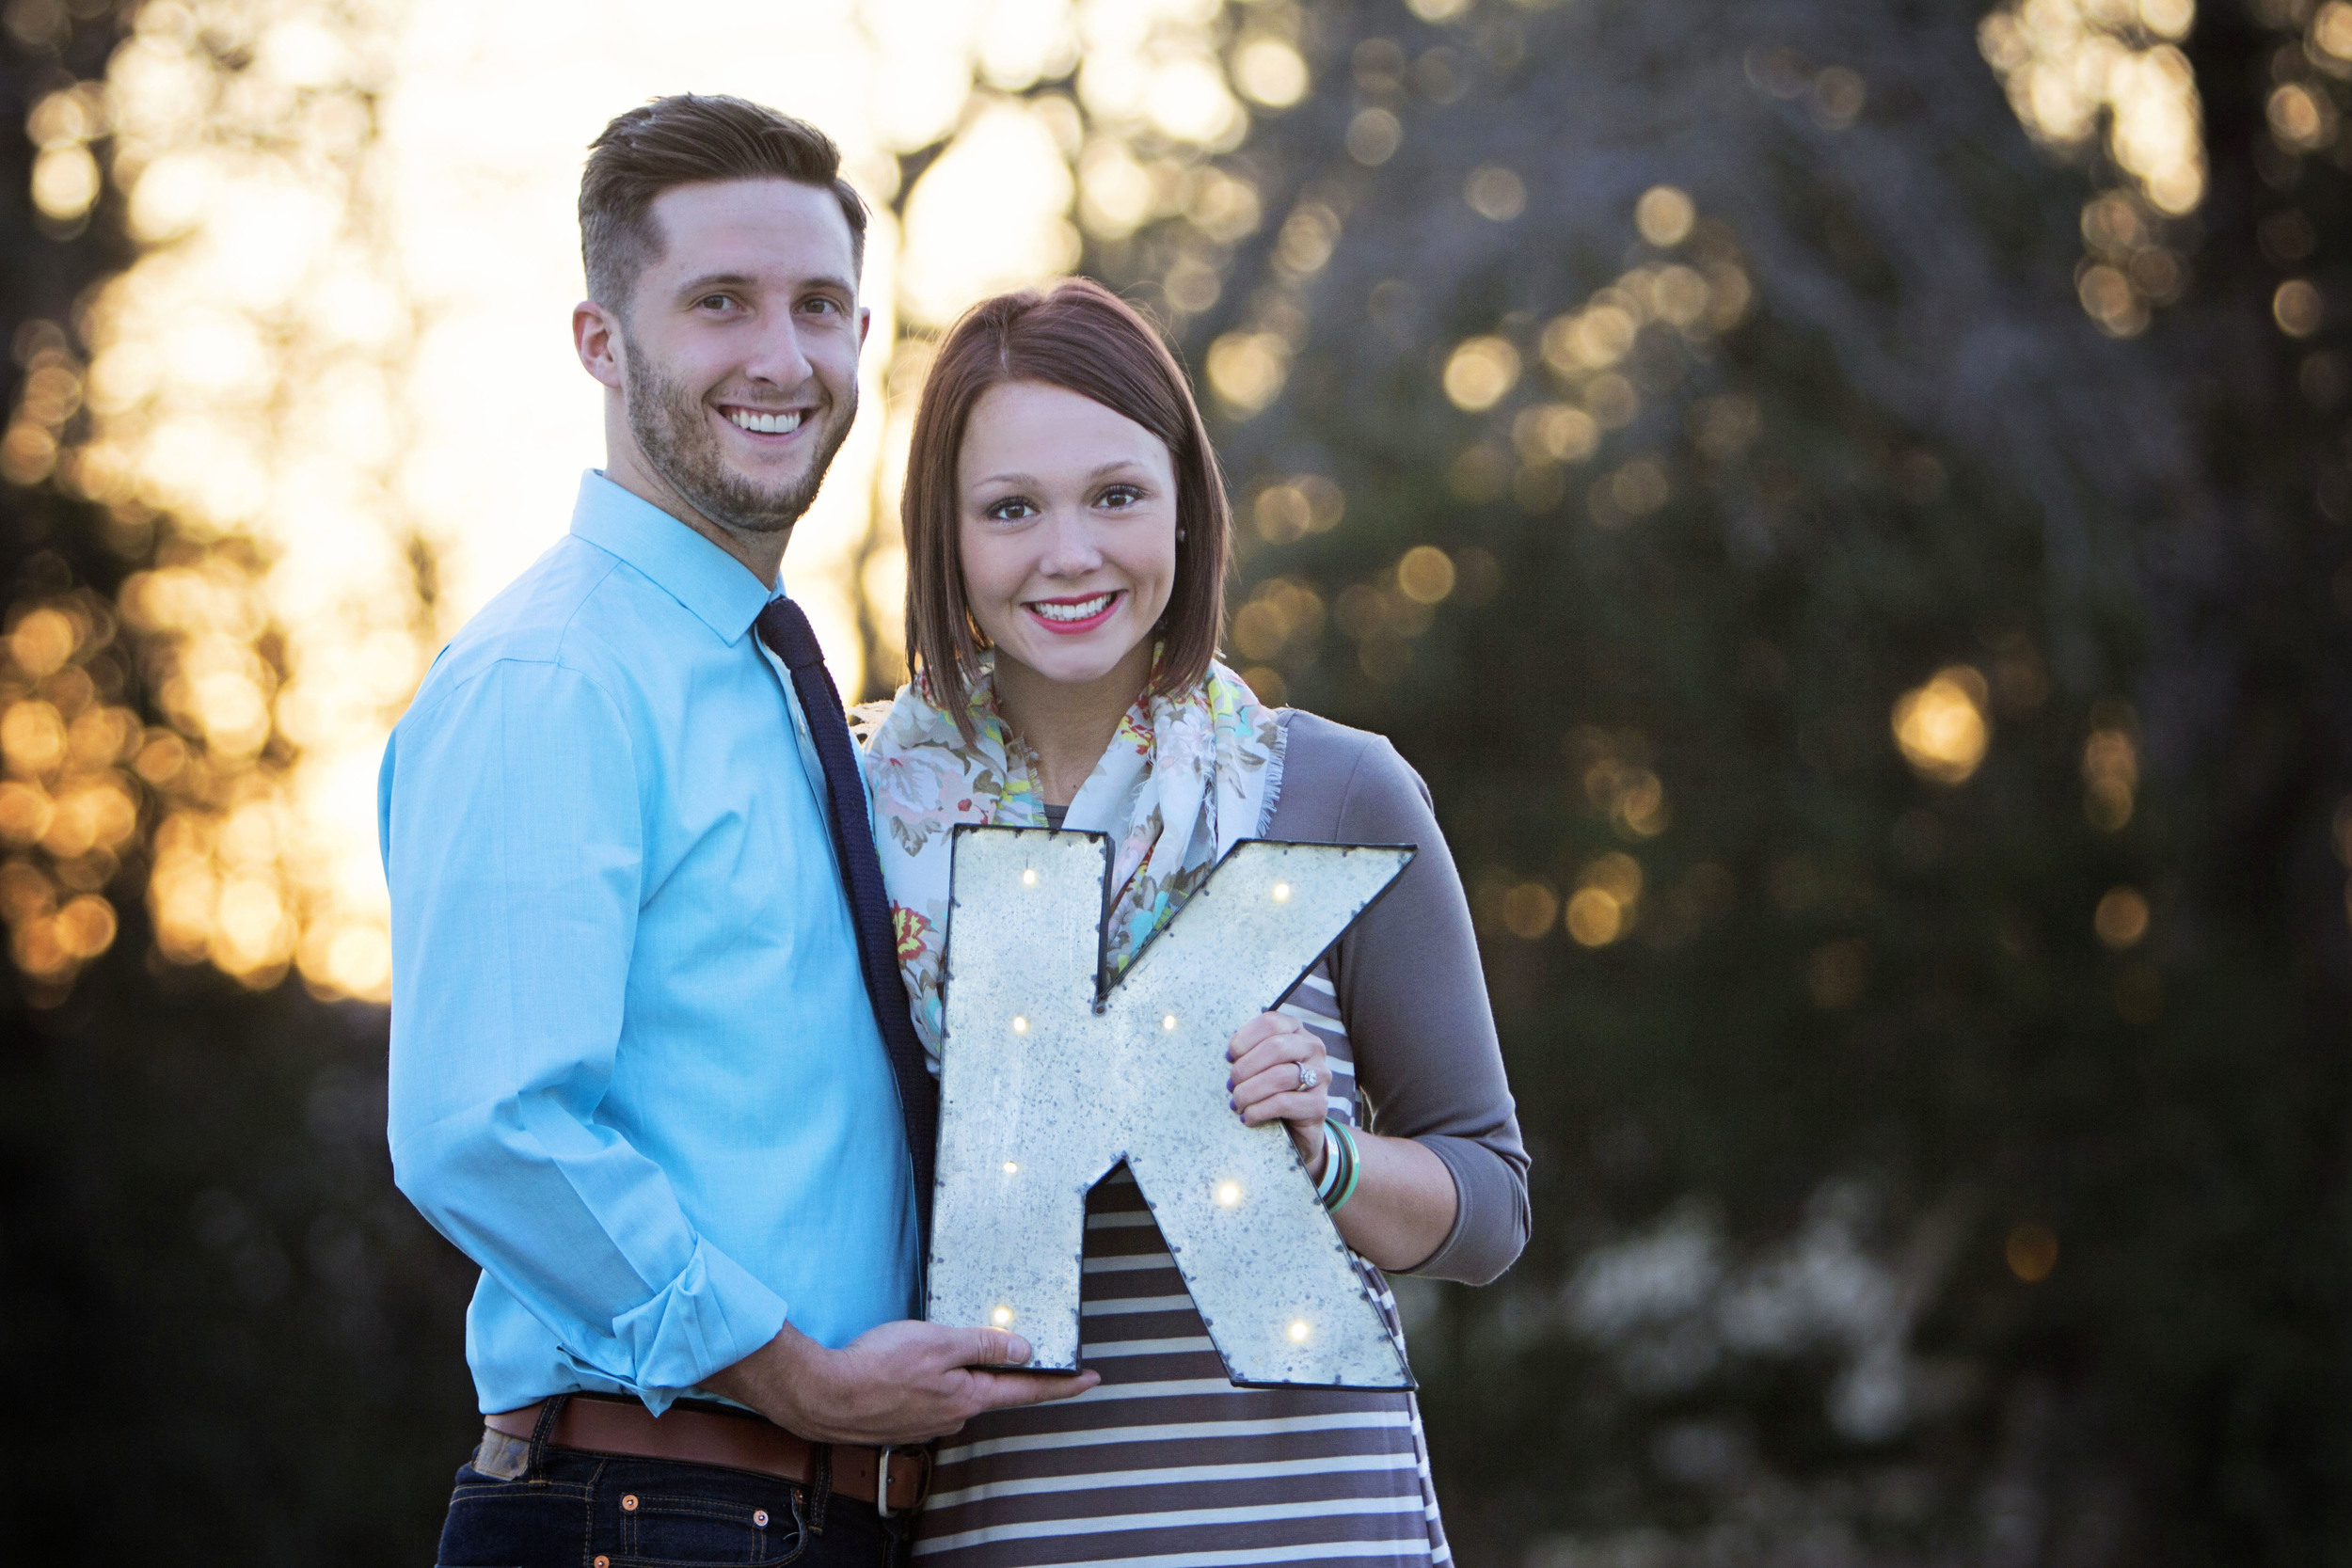
Random tip – If the sun is close to setting and you can get some nice backlighting through the trees, the bokeh will have a lovely variety of colors and brightnesses. This is my favorite situation in which to utilize the wonders of bokeh!!
-
-
Focal length is commonly thought of as the length of a lens. But in actuality, it is the distance (in millimeters) from the optical center of the lens to the focal point (located on the sensor). Telephoto lenses each have a maximum focal length where it is zoomed in all the way, and a minimum, where it is zoomed out completely. For example, a 70-200mm lens has a maximum focal length of 200mm and a minimum of 70mm. With the camera settings the same, telephoto lenses at maximum focal length tend to produce more blur because of their narrow angle of view. This means that you will have to back up (quite far in some cases) in order to zoom in far enough.
-
Note – the further you zoom in, the more problems you will have with stability, resulting in completely blurry photos. I would encourage you to brace your lens somehow, even if it has IS (Image Stabilization) built in. Sometimes I crouch down and rest my right arm on my knee as I shoot to prevent shakiness and improve sharp focus.
-
Contrastly, for a fixed lens (50mm, 85mm, etc), the closer you (the photographer) are to the subject, the more blurred out the background will be. In other words, a wide angle lens (like a 35mm or 50mm) can fit more of a scene into the field of view but naturally detects less distance between objects (deeper focus – more details are sharp and background isn’t as soft/blurred) while the view through a telephoto naturally increases the seeming distance.
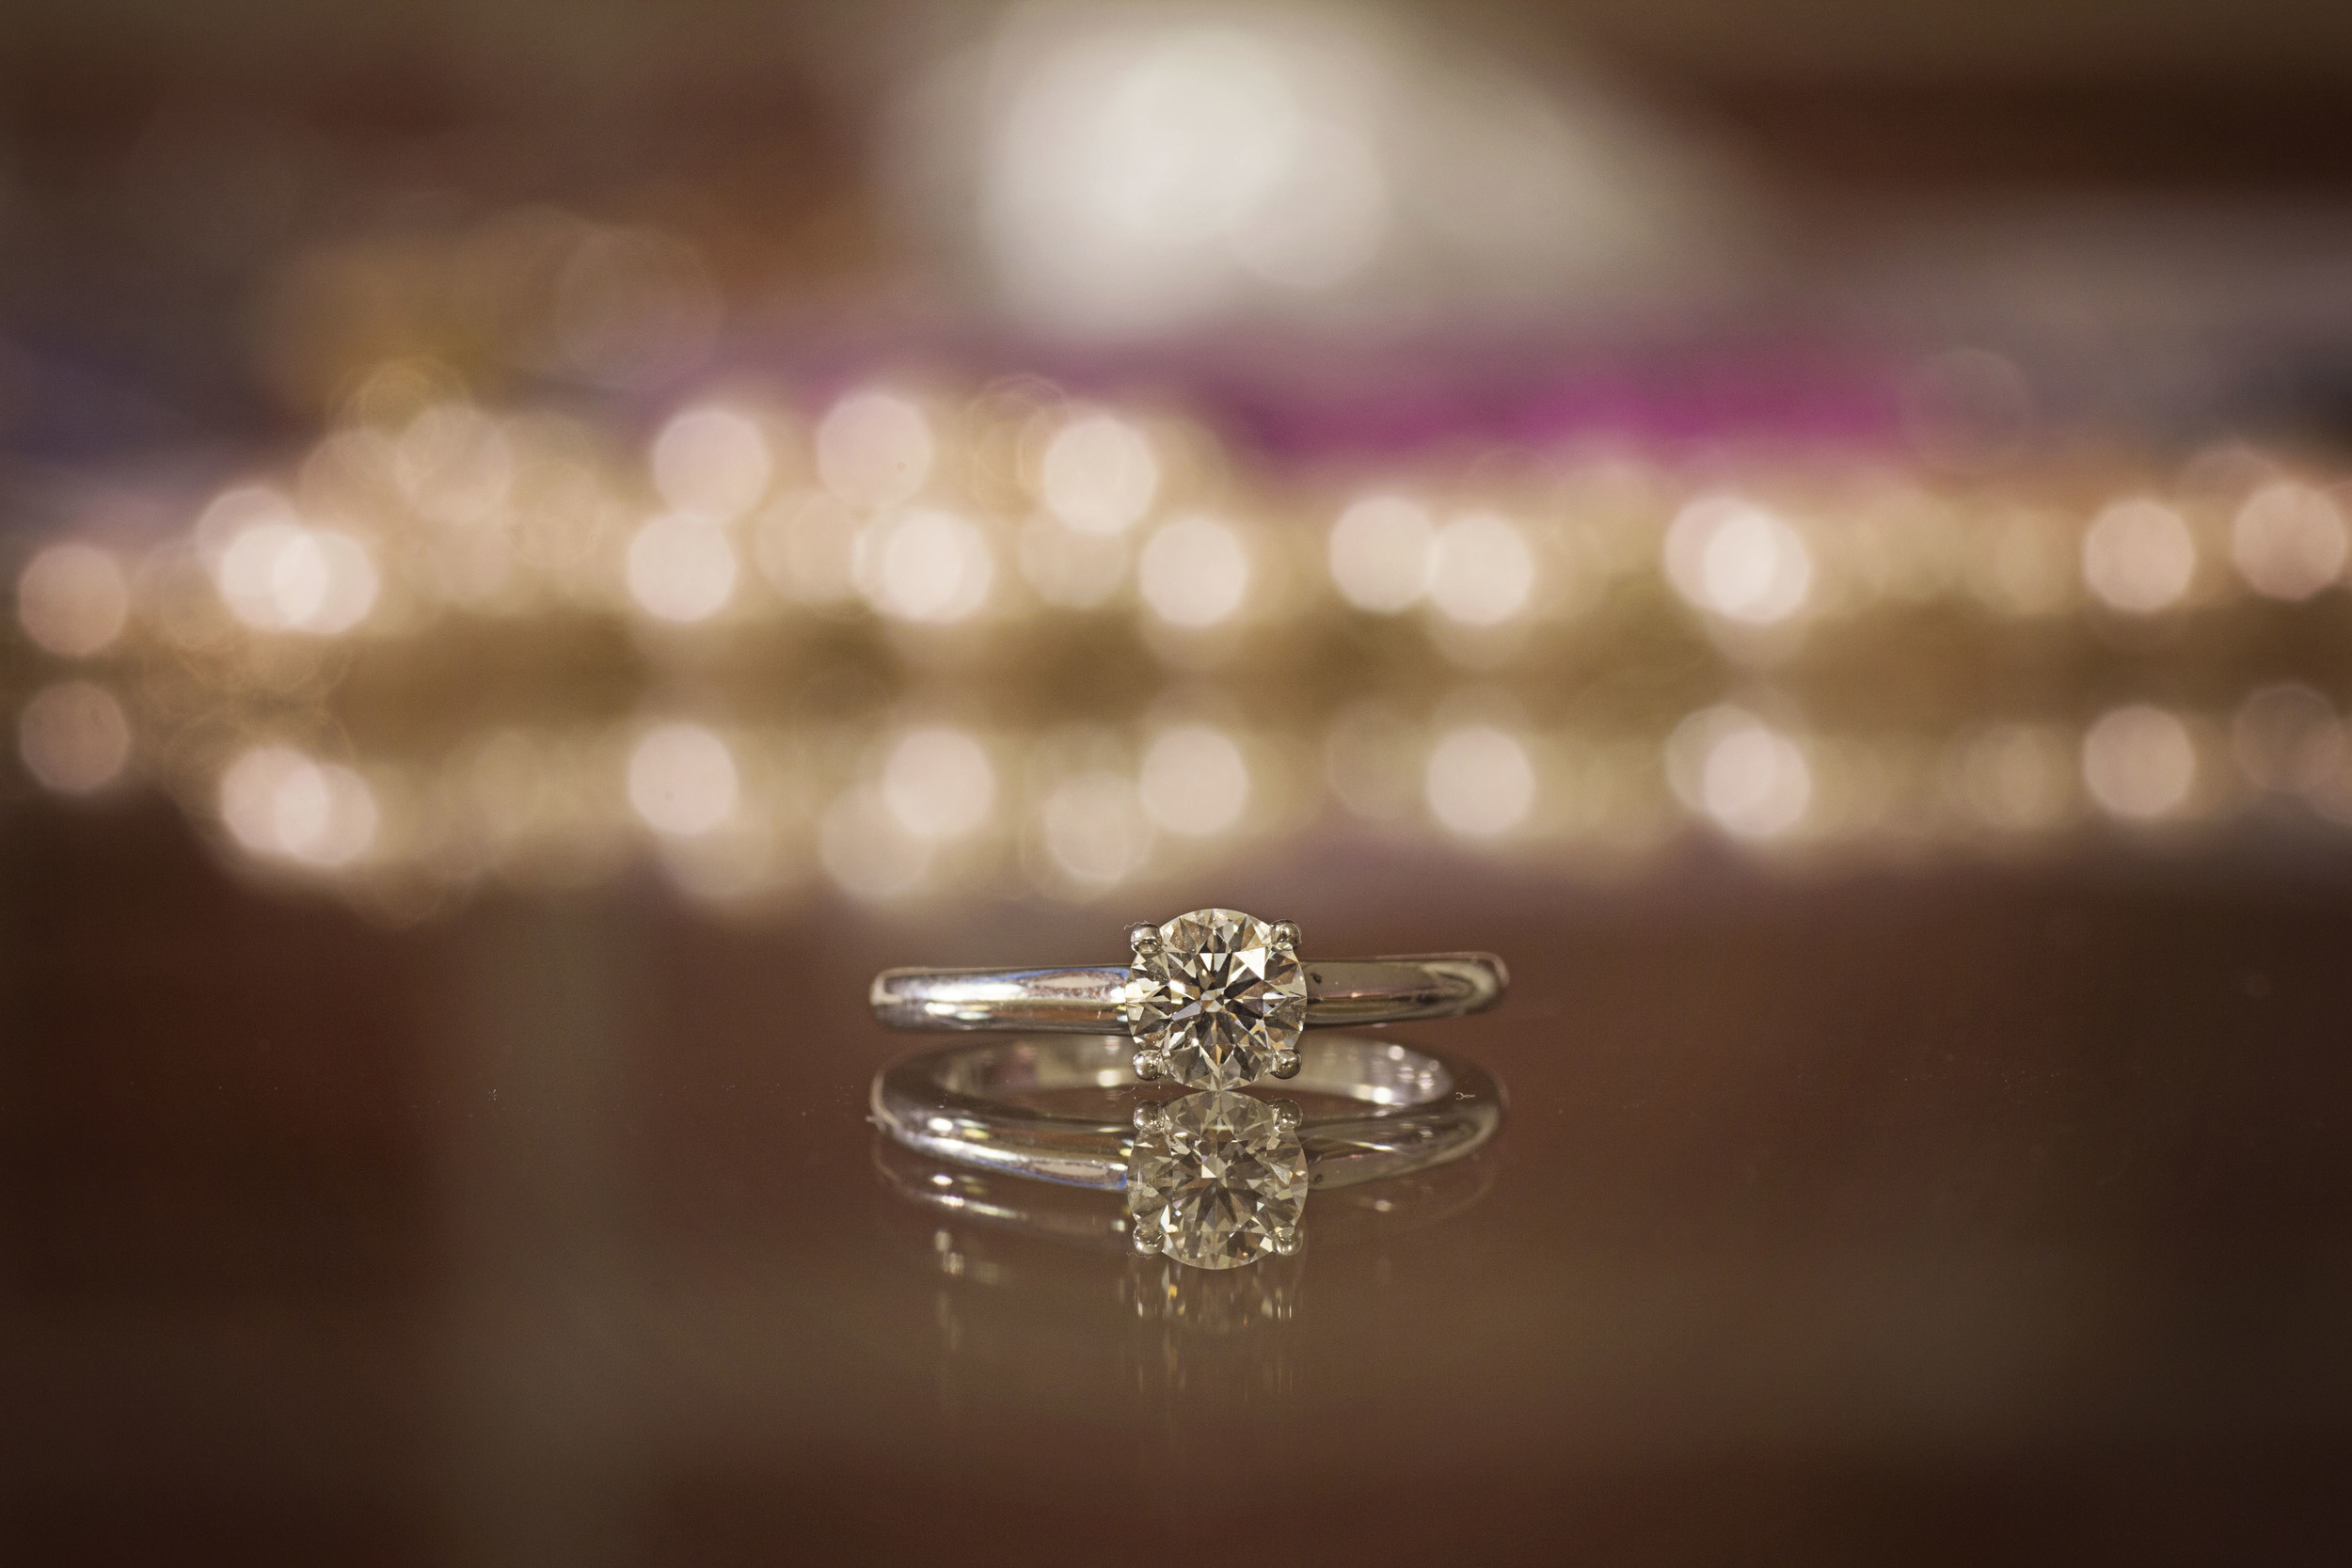
Tamron 90mm macro lens on tripod, f/5.6, 2 second shutter speed, ISO 400
So…how do you even begin to put these ideas into action?? My suggestion would be to find the “Aperture Priority” on your camera and shoot in it until you get comfortable with the other settings. What this setting does is automatically set everything except the aperture, the most important setting for creating depth of field and bokeh. As you increase or decrease the aperture, the shutter speed and ISO will automatically adjust to create a “properly” exposed photograph. I use quotations for the word properly because there is no one right way to do photography…that’s why it’s a form of art!! But sometimes you have to learn the “rules” of photography before you can understand how to break them creatively…stay tuned for a blog about this!! Once you get comfortable enough with Aperture Priority and you want a bit more artistic opportunity in your shooting, you can switch to Manual!
Leave a Reply

the list
Be the ultimate insider. Get updates on my latest shoots, tips for planning your dream photo session & where I'm headed next. My email subscribers always hear about big updates before anyone else!
JOIN THE FUN

education Community
Are you a creative entrepreneur? Come join my small but mighty education community, where we are learning and growing together! I'm an open book and love to share about all the photography & business stuff behind-the-scenes stuff here!
Let's Grow Together!
Thanks a ton! I have a photography test tomorrow, and this was so helpful 🙂
I’m so glad it was helpful, Kat! I hope your test went well!!